Entertaining is something mum and I love to do together, and we both enjoy cooking and making a table look amazing. We planned this high tea together last year for our dear friend Julie who was turning 60. Unfortunately, mum broke her shoulder quite severely and was out of action for a long time so the high tea was postponed.
We finally got around to holding this special High Tea earlier this month and it was a wonderful success.
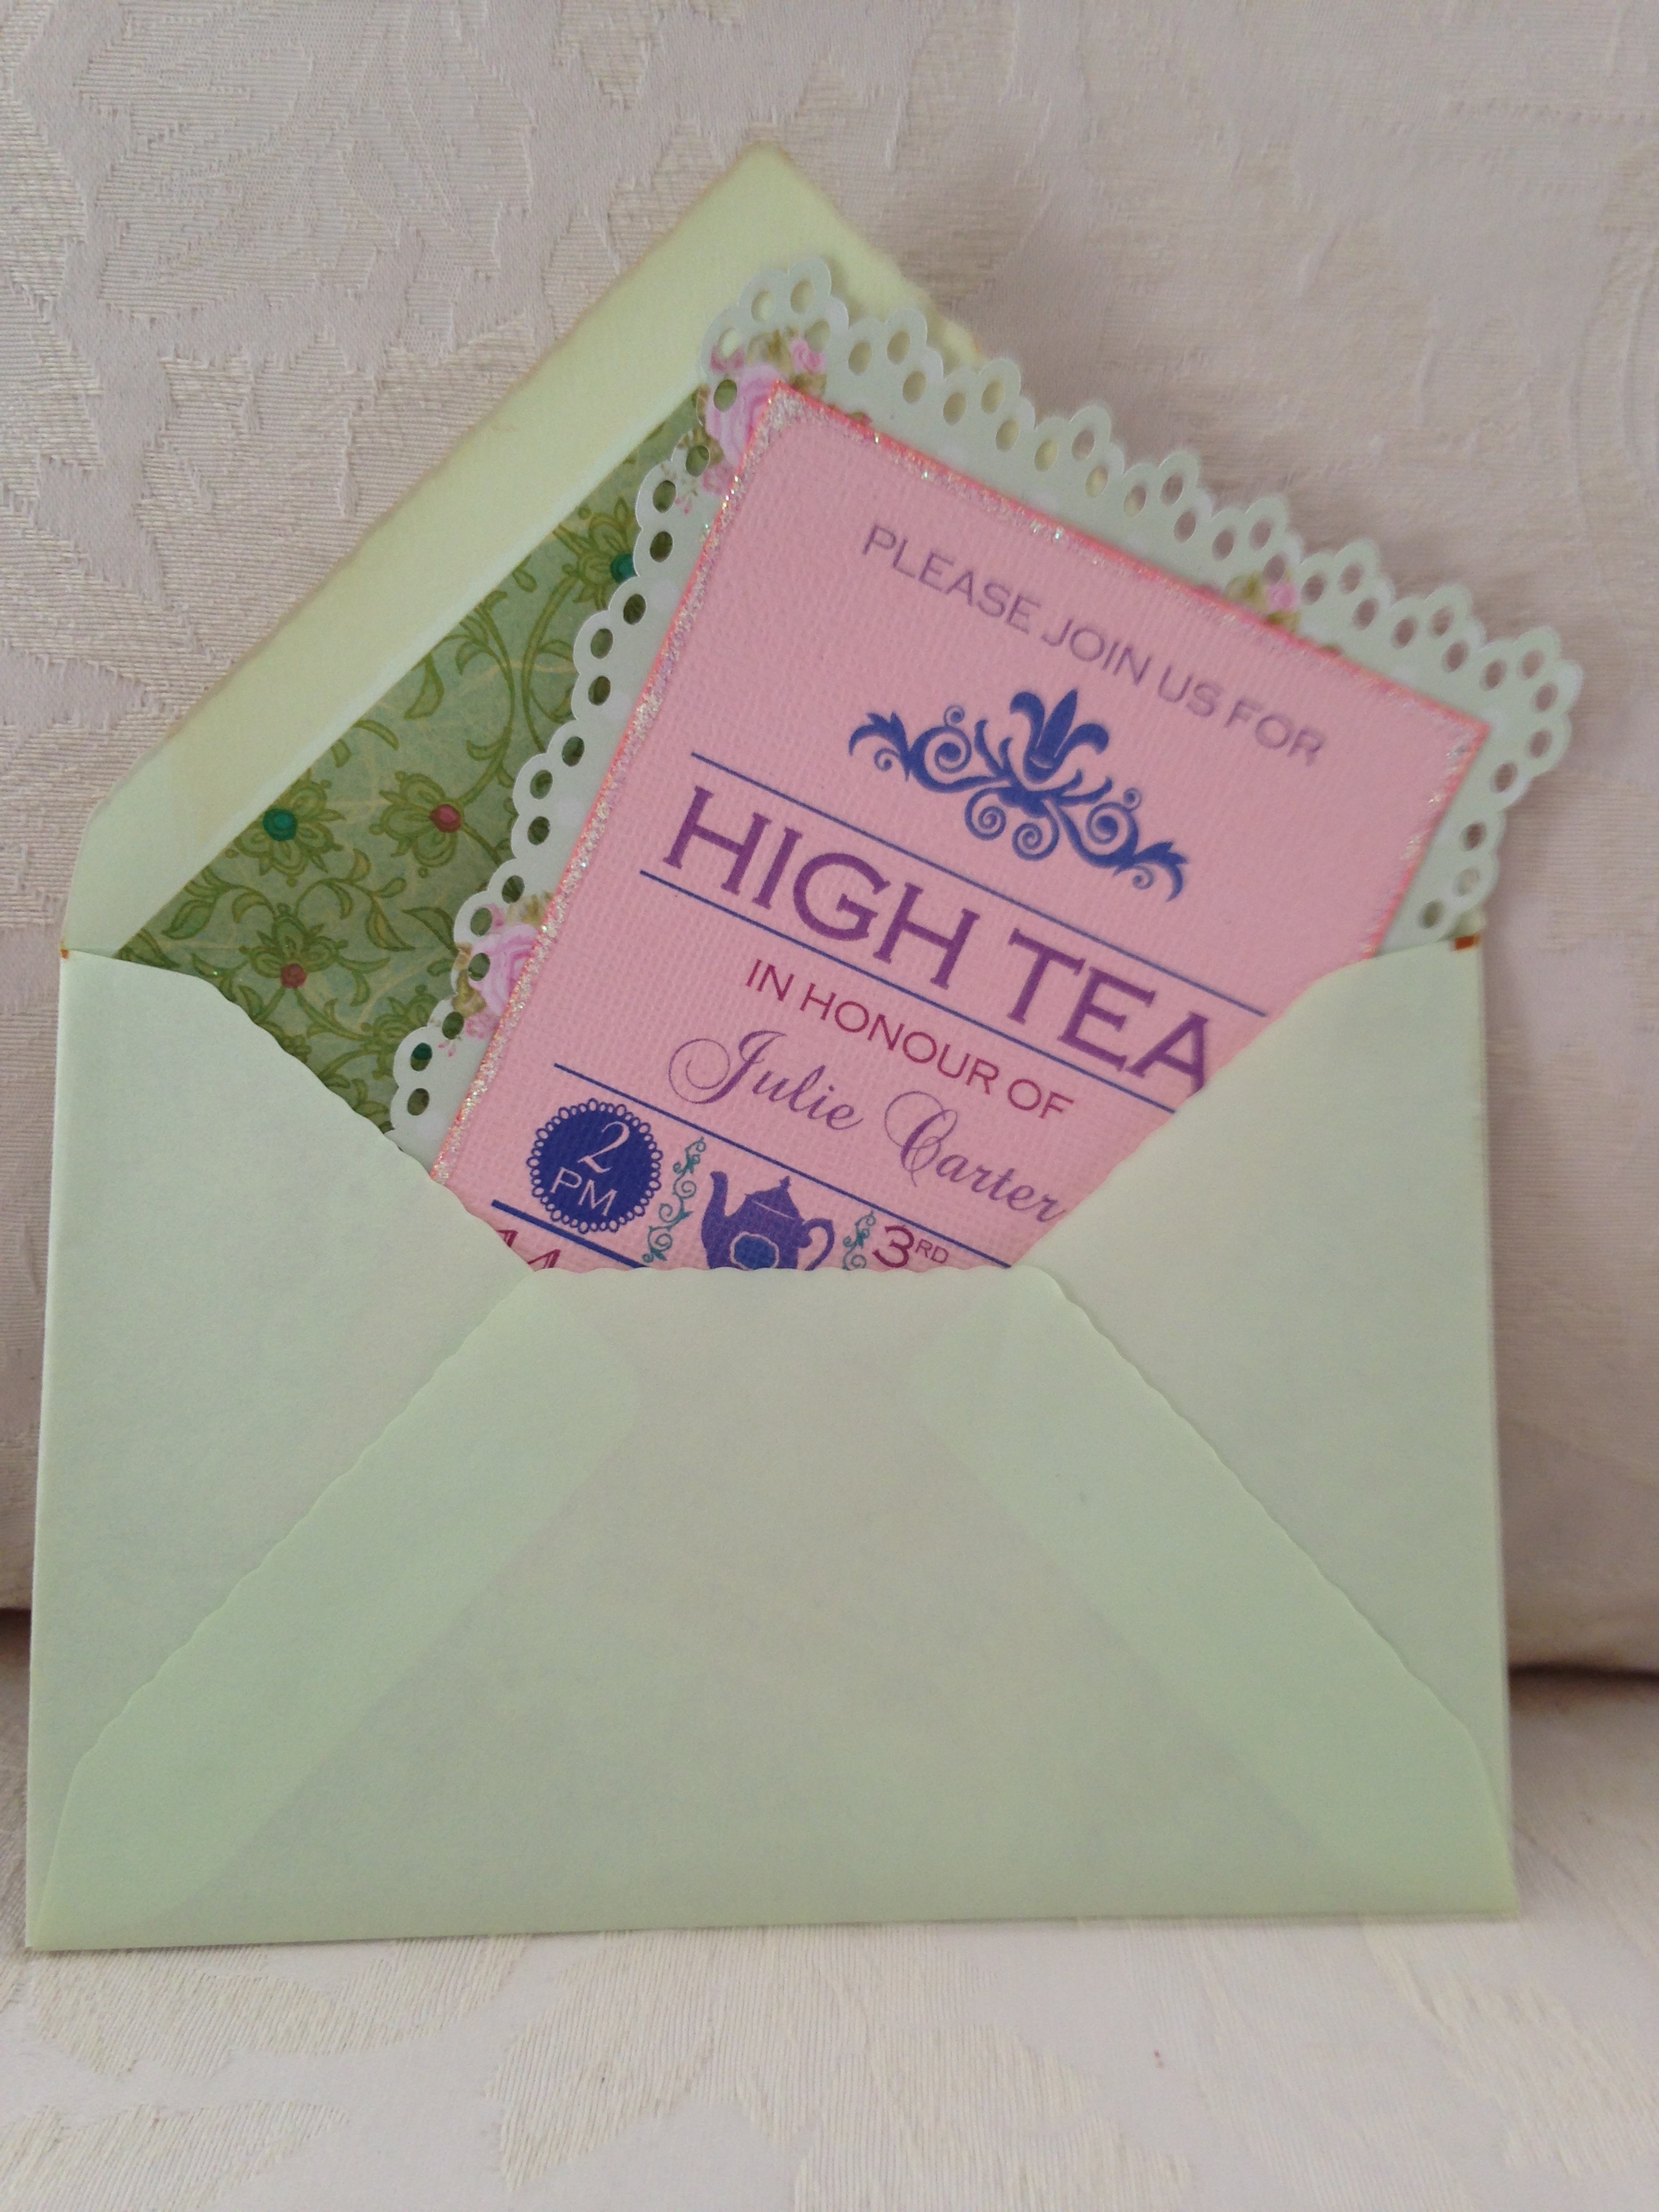
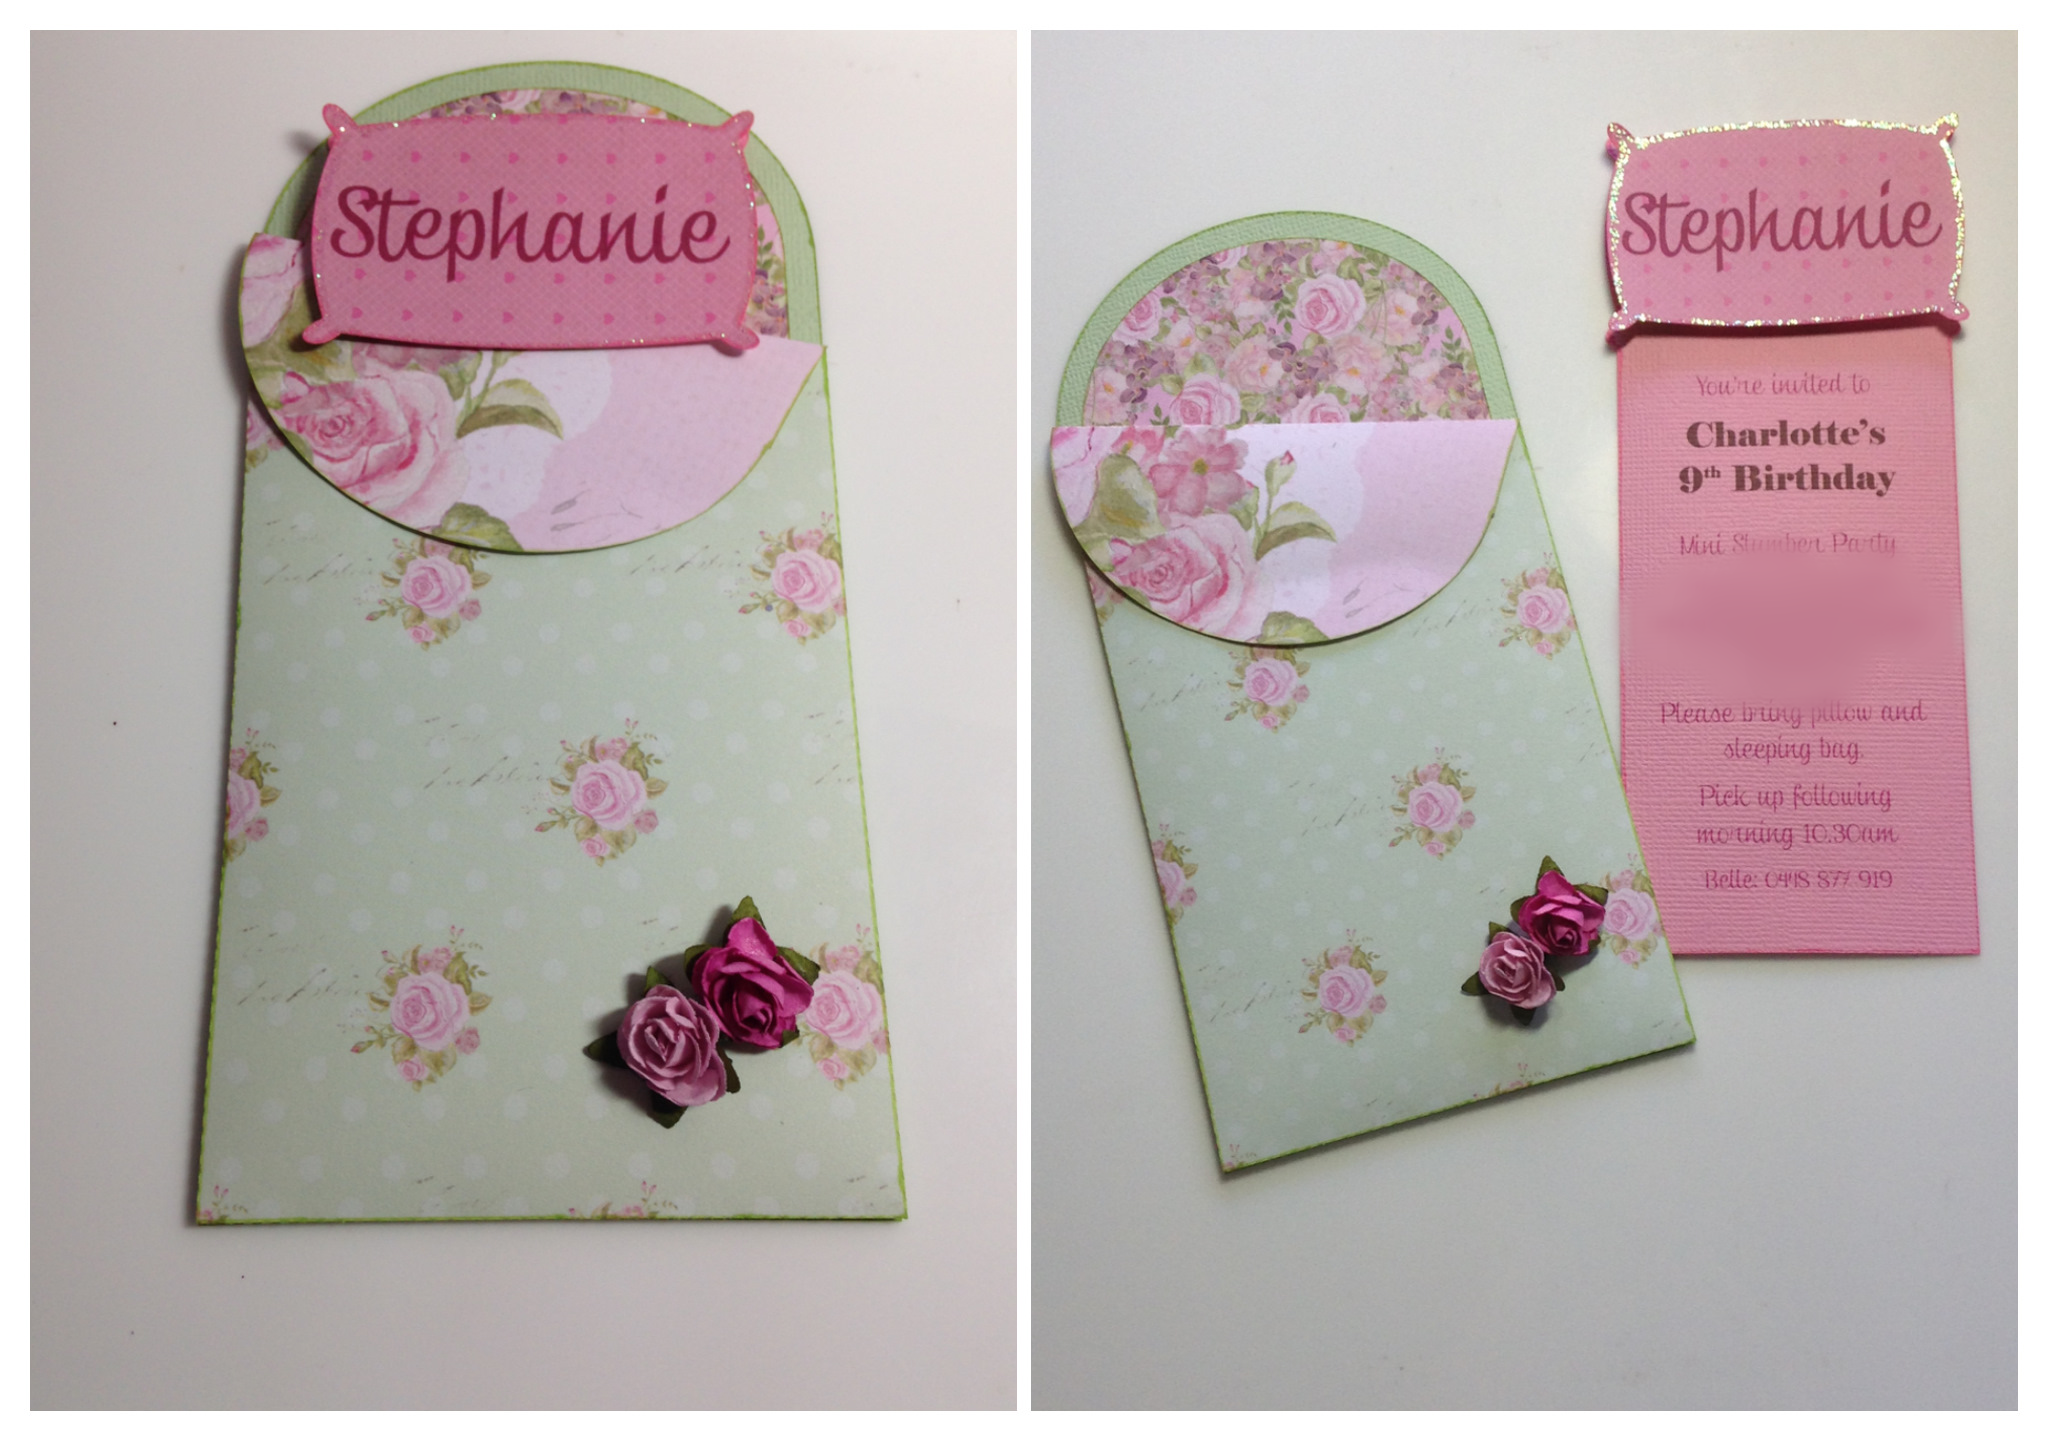
I had already created invitations for our event last year, but created more for the new date.
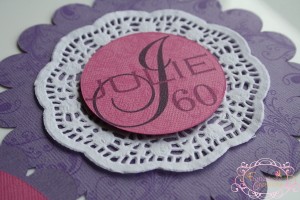
I used my trusty Pazzles Vue for both of them. I kept both invites quite simple, but the finishing touches make a huge difference to how an invitation presents when it is complete. The original invite was simply a scalloped circle with a smaller circle inside for the printed invitation. To make it extra special I covered the purple cardstock in a repeated pattern of a rubber stamp in purple ink so it was subtle, but pretty.
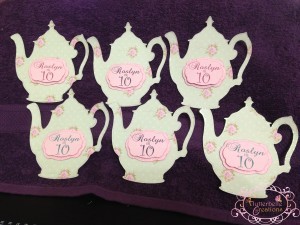
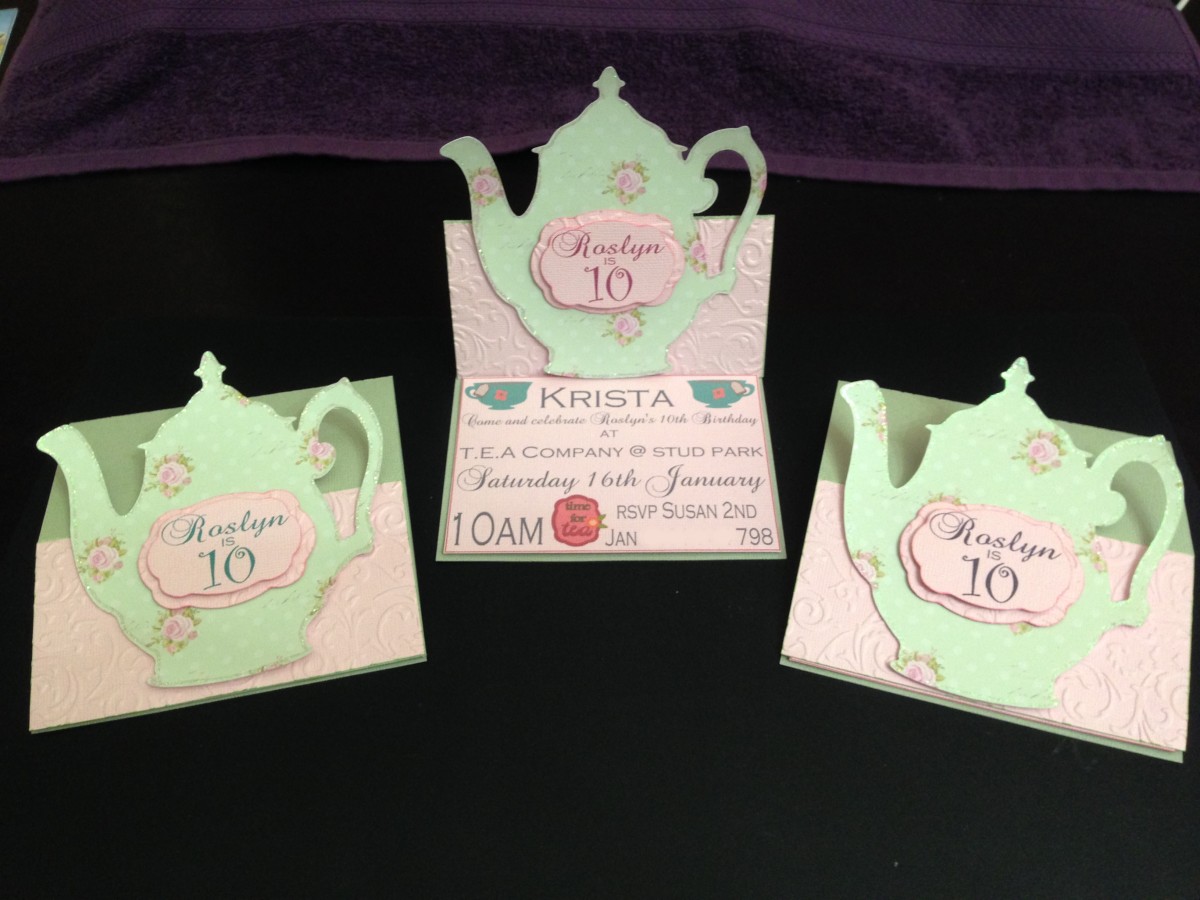
The new invitations I designed completely in my InVue software. I selected craft room files for the flourishes and teapot graphic and changed up the fonts. I layered some plain cardstock with printed information with the patterned cardstock that had been cut out using the doilie frame craft room file. A little KindyGlitz glitter glue around the border lifted the invites up another notch.
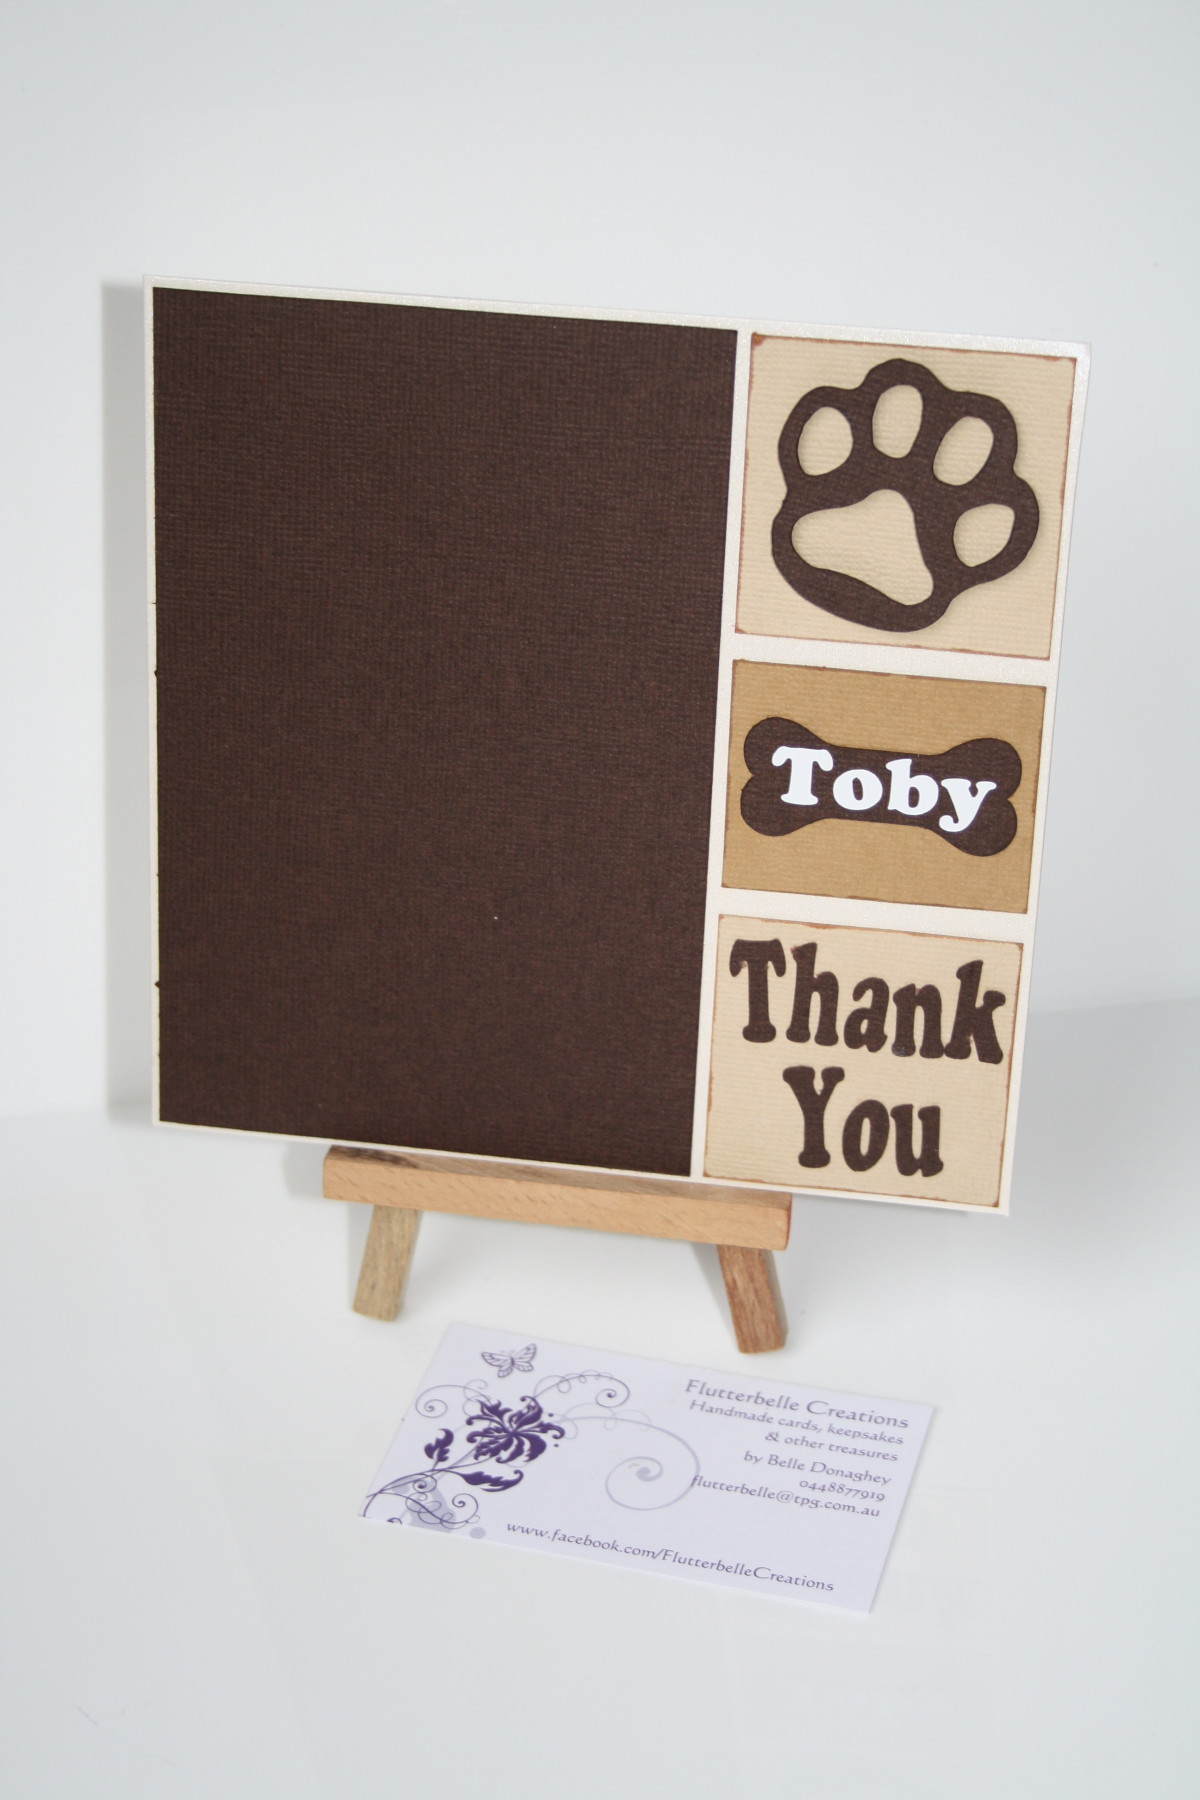
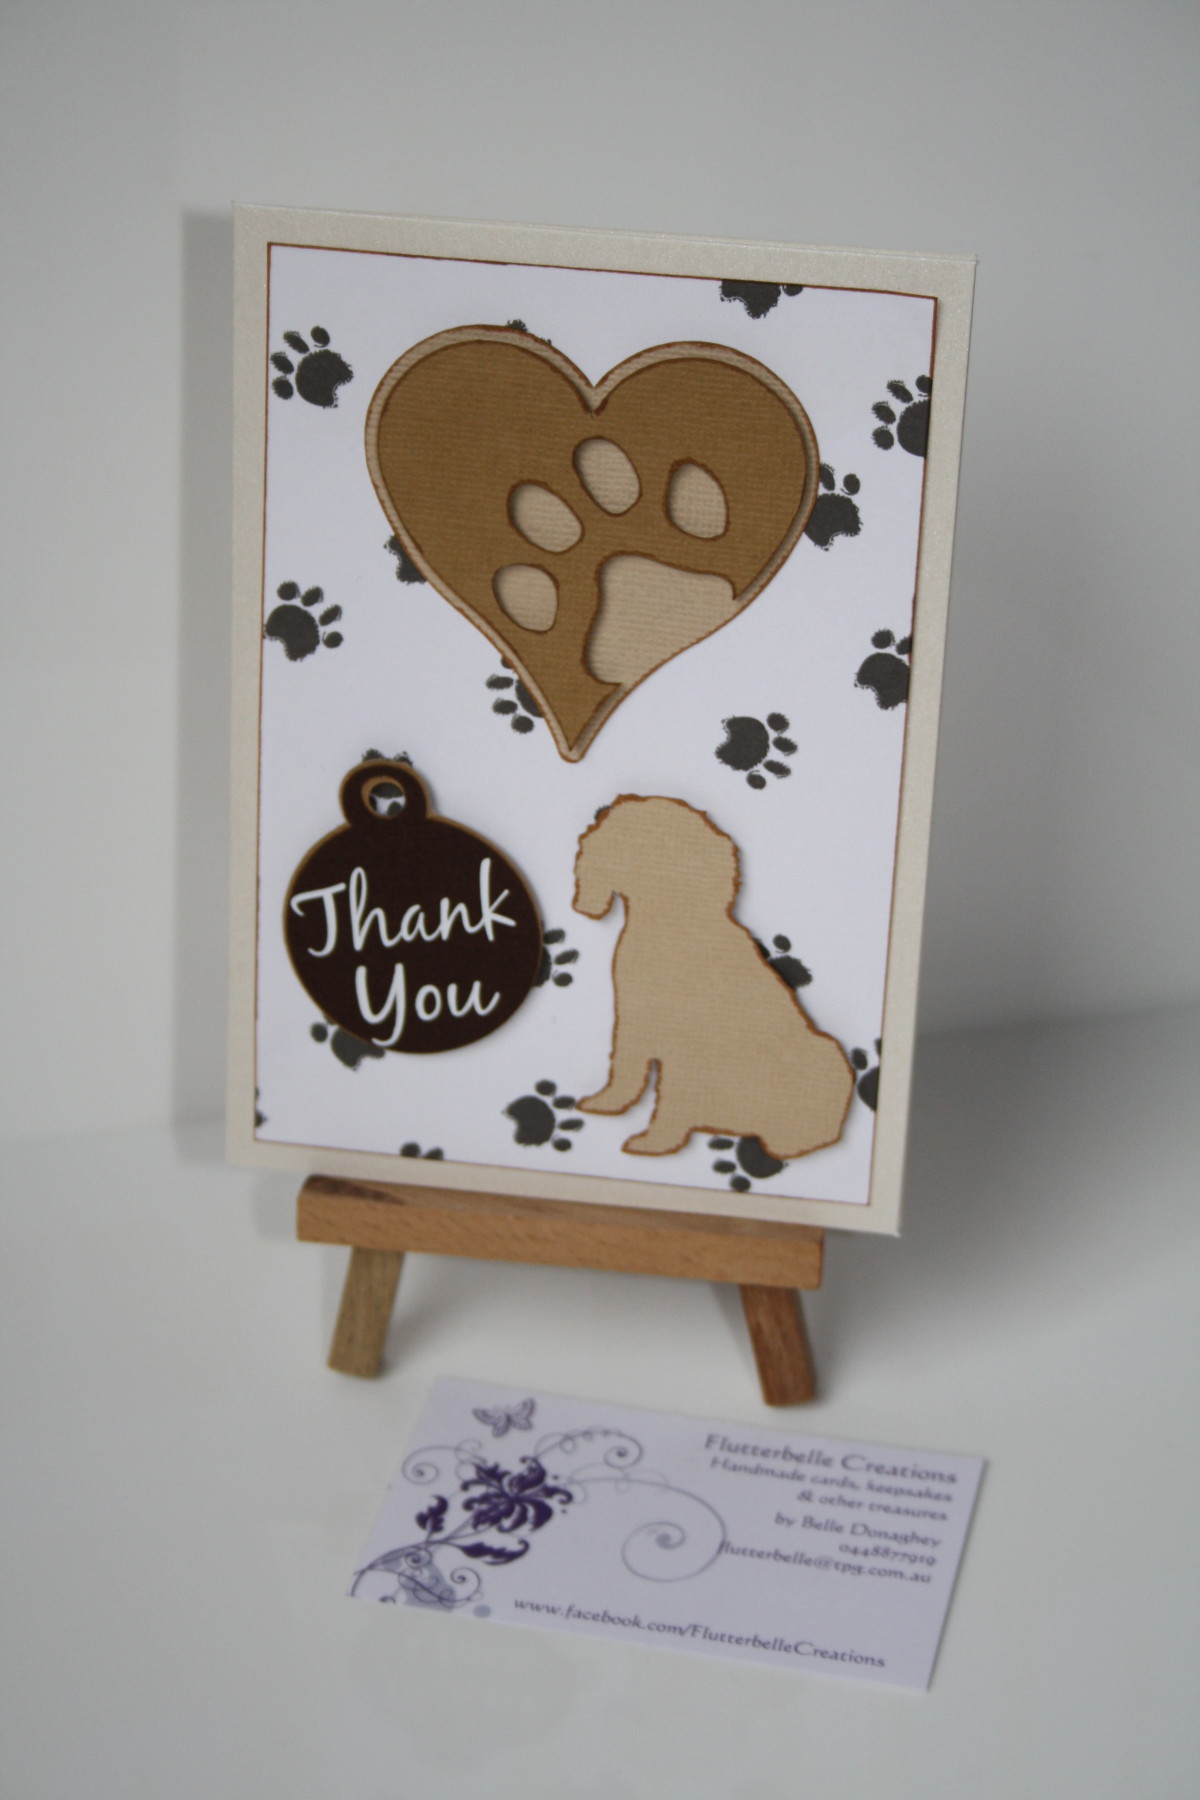
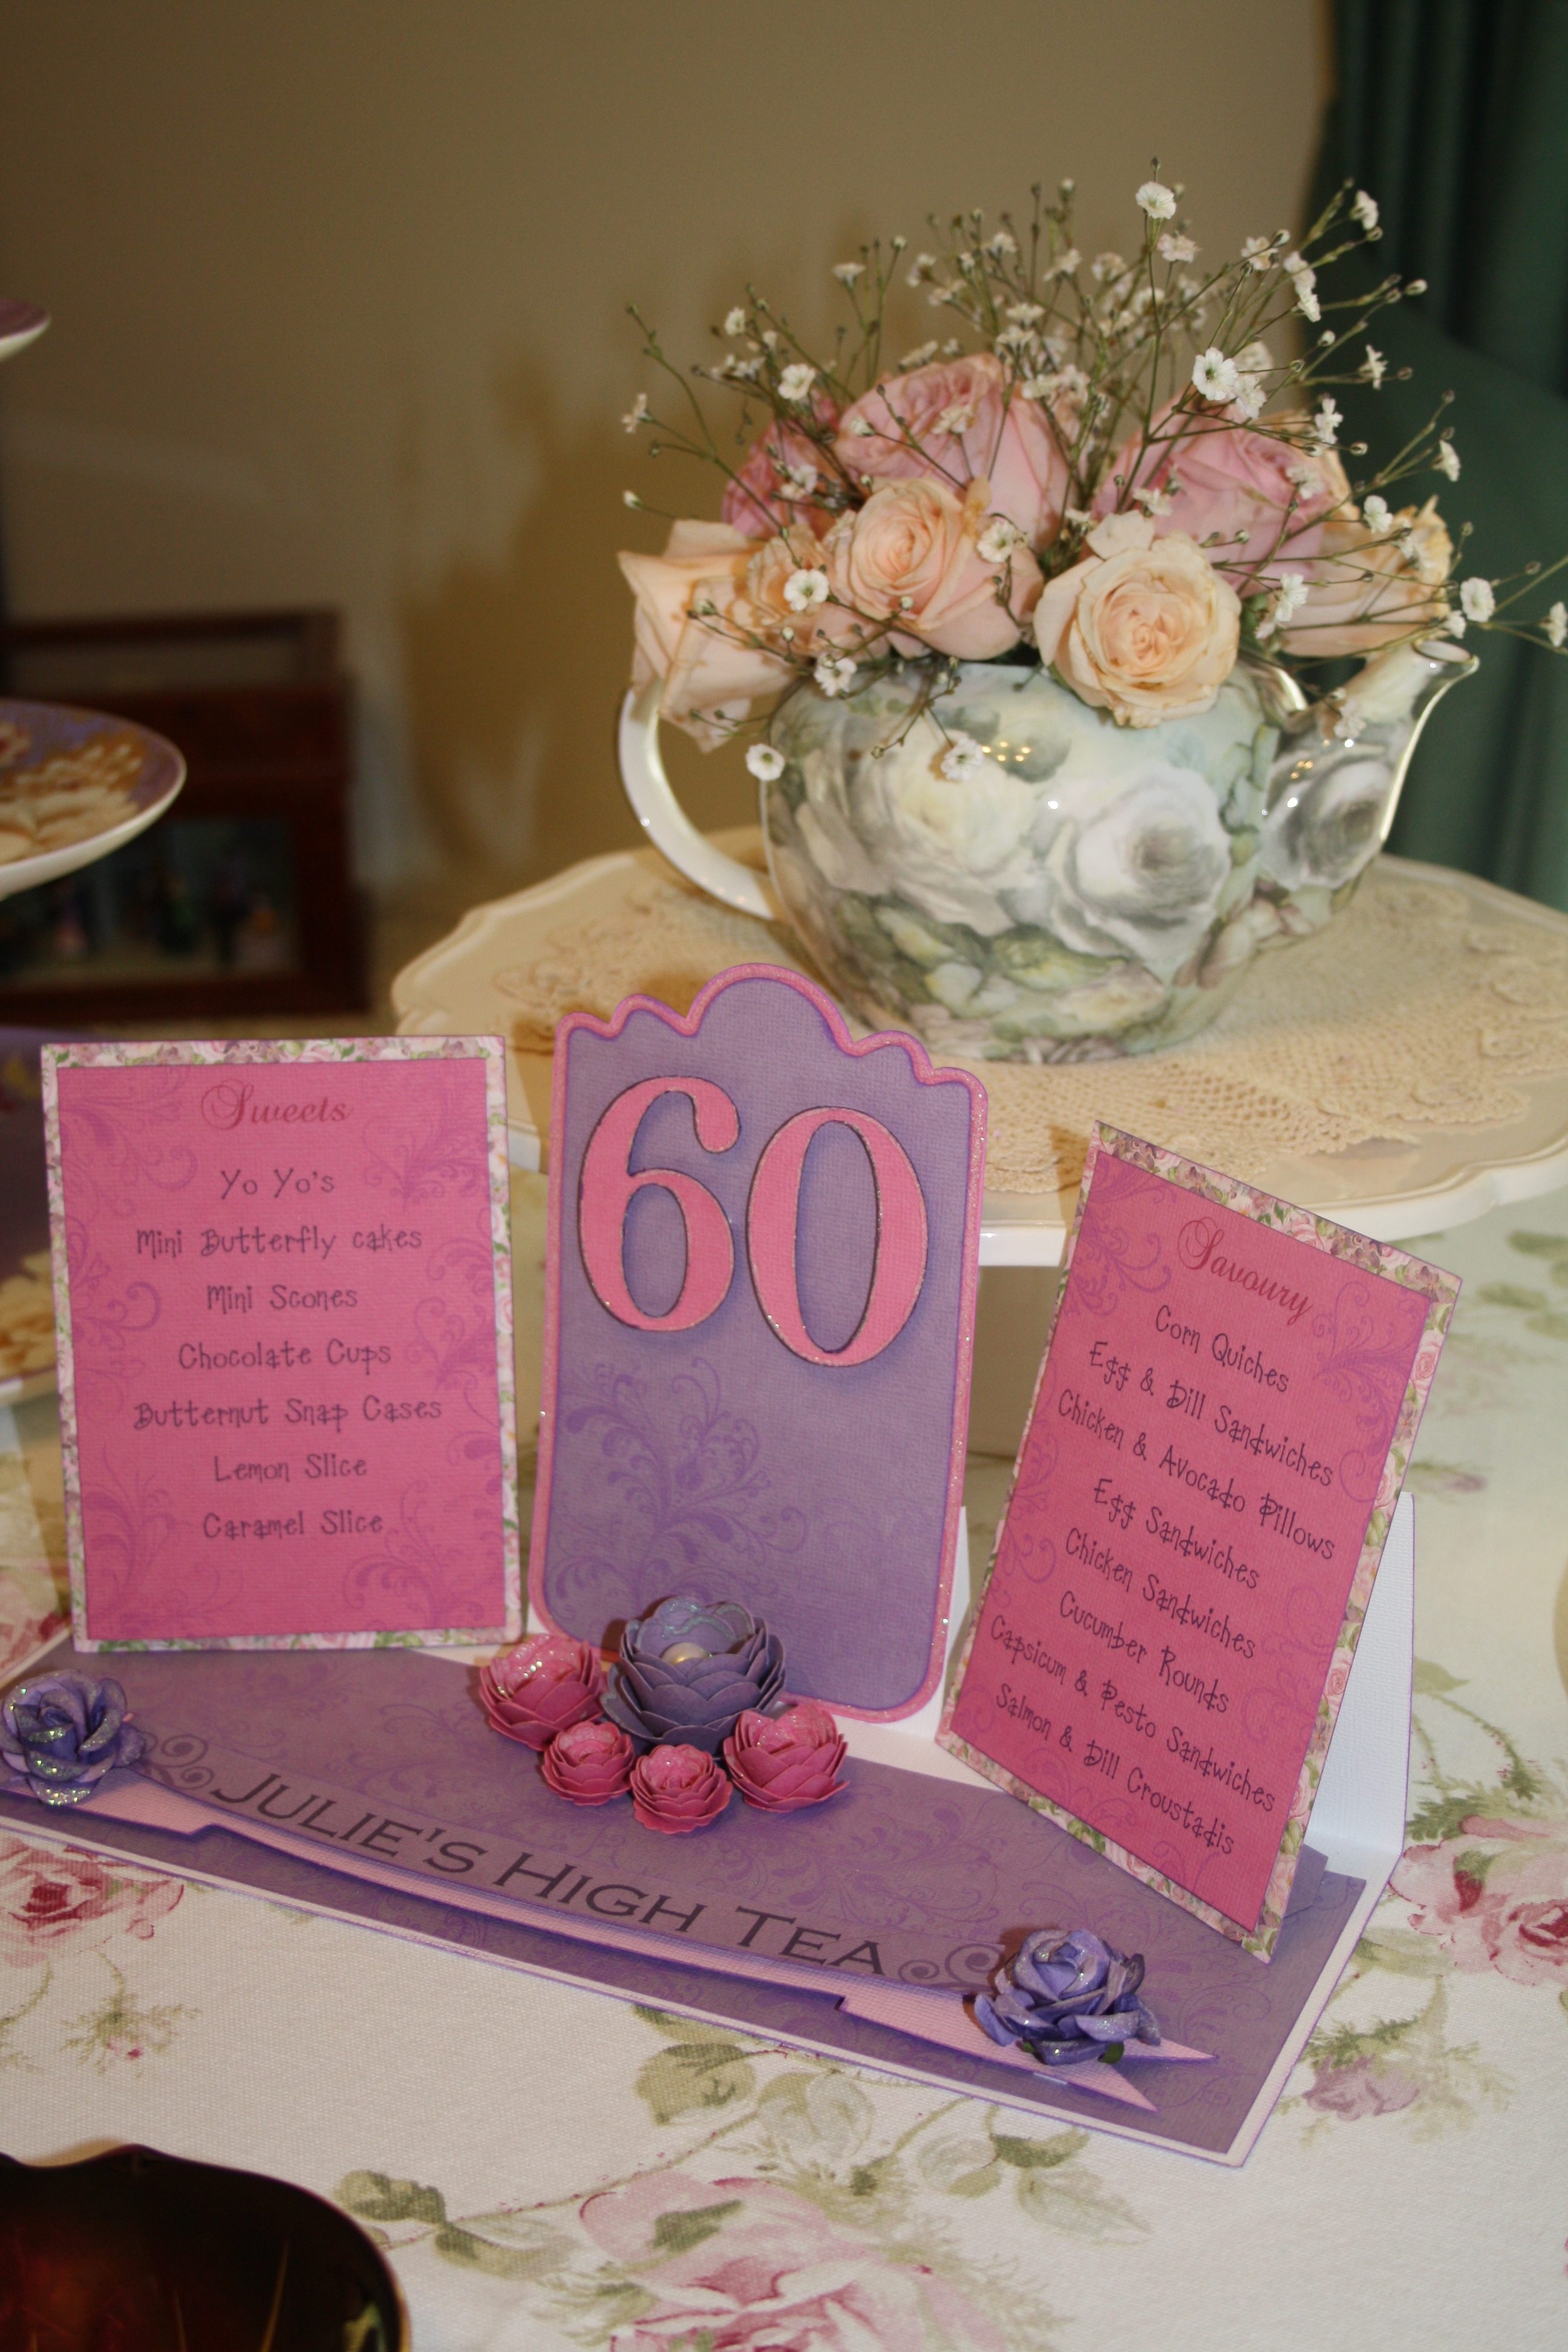
At the end of the table I placed the triple tag easel card that I made last year as one of my Pazzles DT Projects which you can read about here. I altered the menu slightly and reprinted those pieces.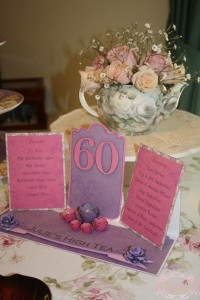
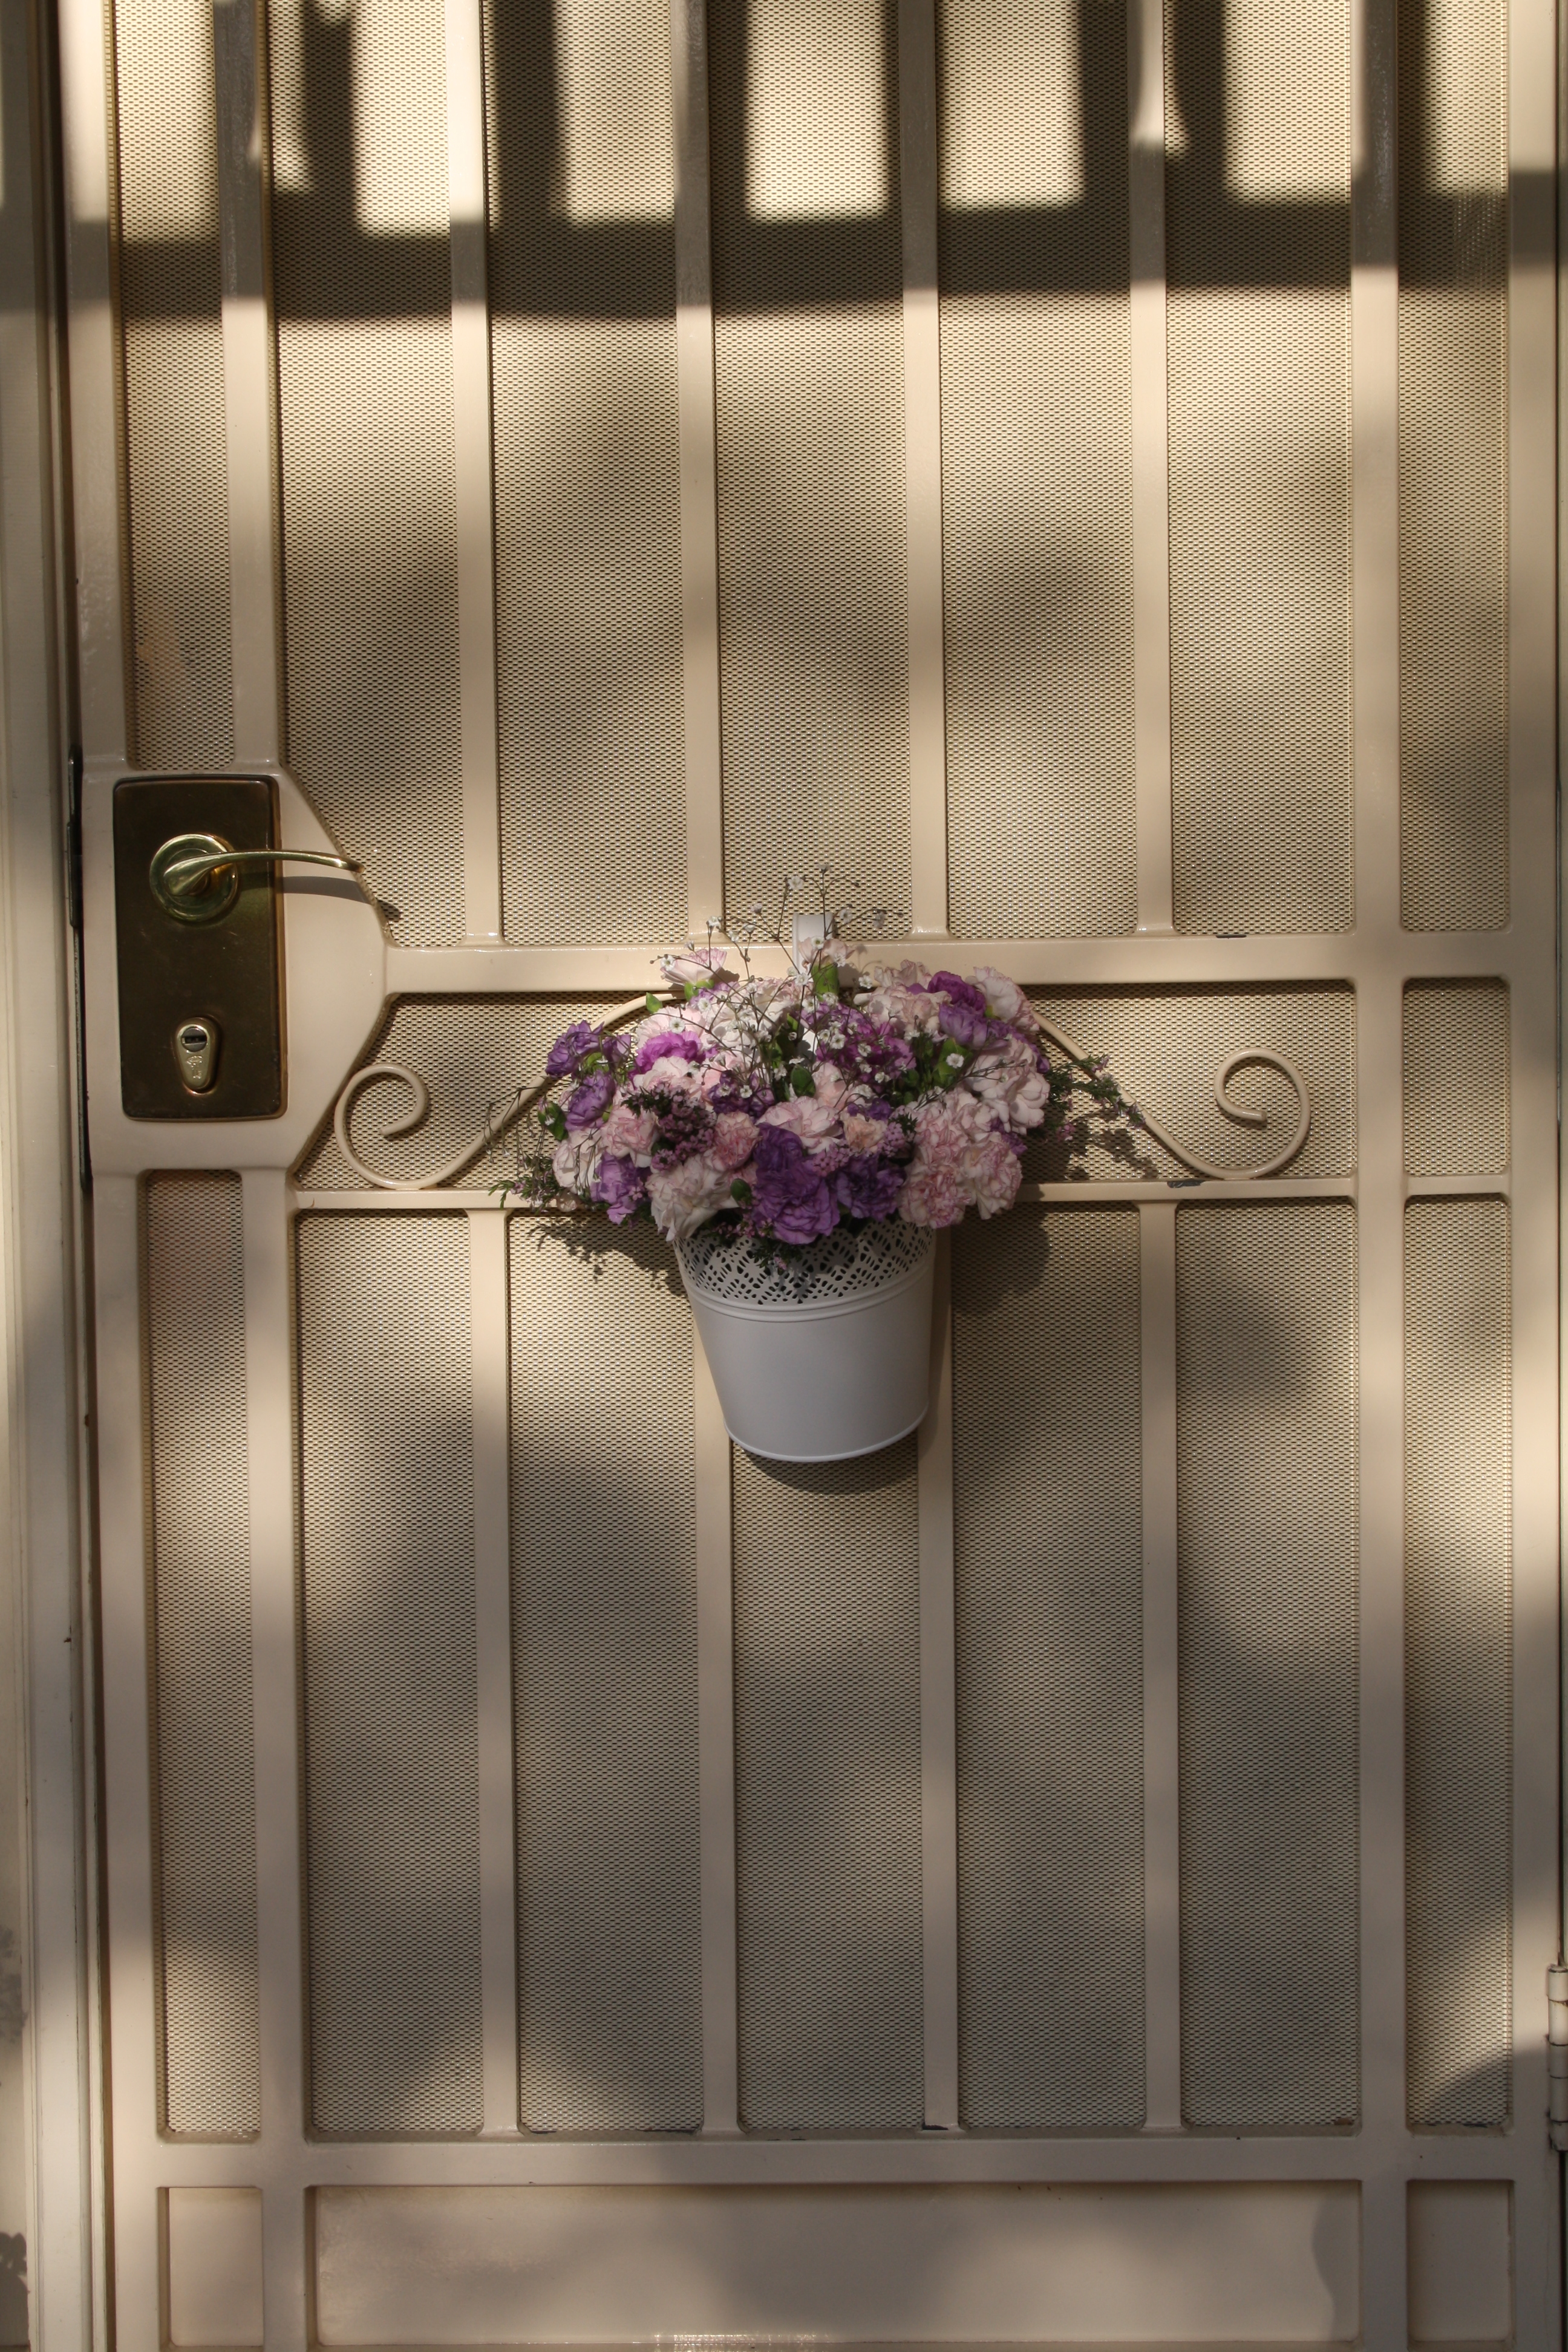
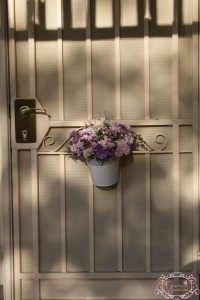
Mum had arranged many fresh cut flowers from Joe Leuzzi flowers around the dining room and the rest of the house. My favourite arrangements were the carnations in the bucket on the front door, and the flowers in the teapot on the cake stand at the end of the table. She also filled teacups with flowers which looked very pretty amongst our delicious food and the floral tablecloth.
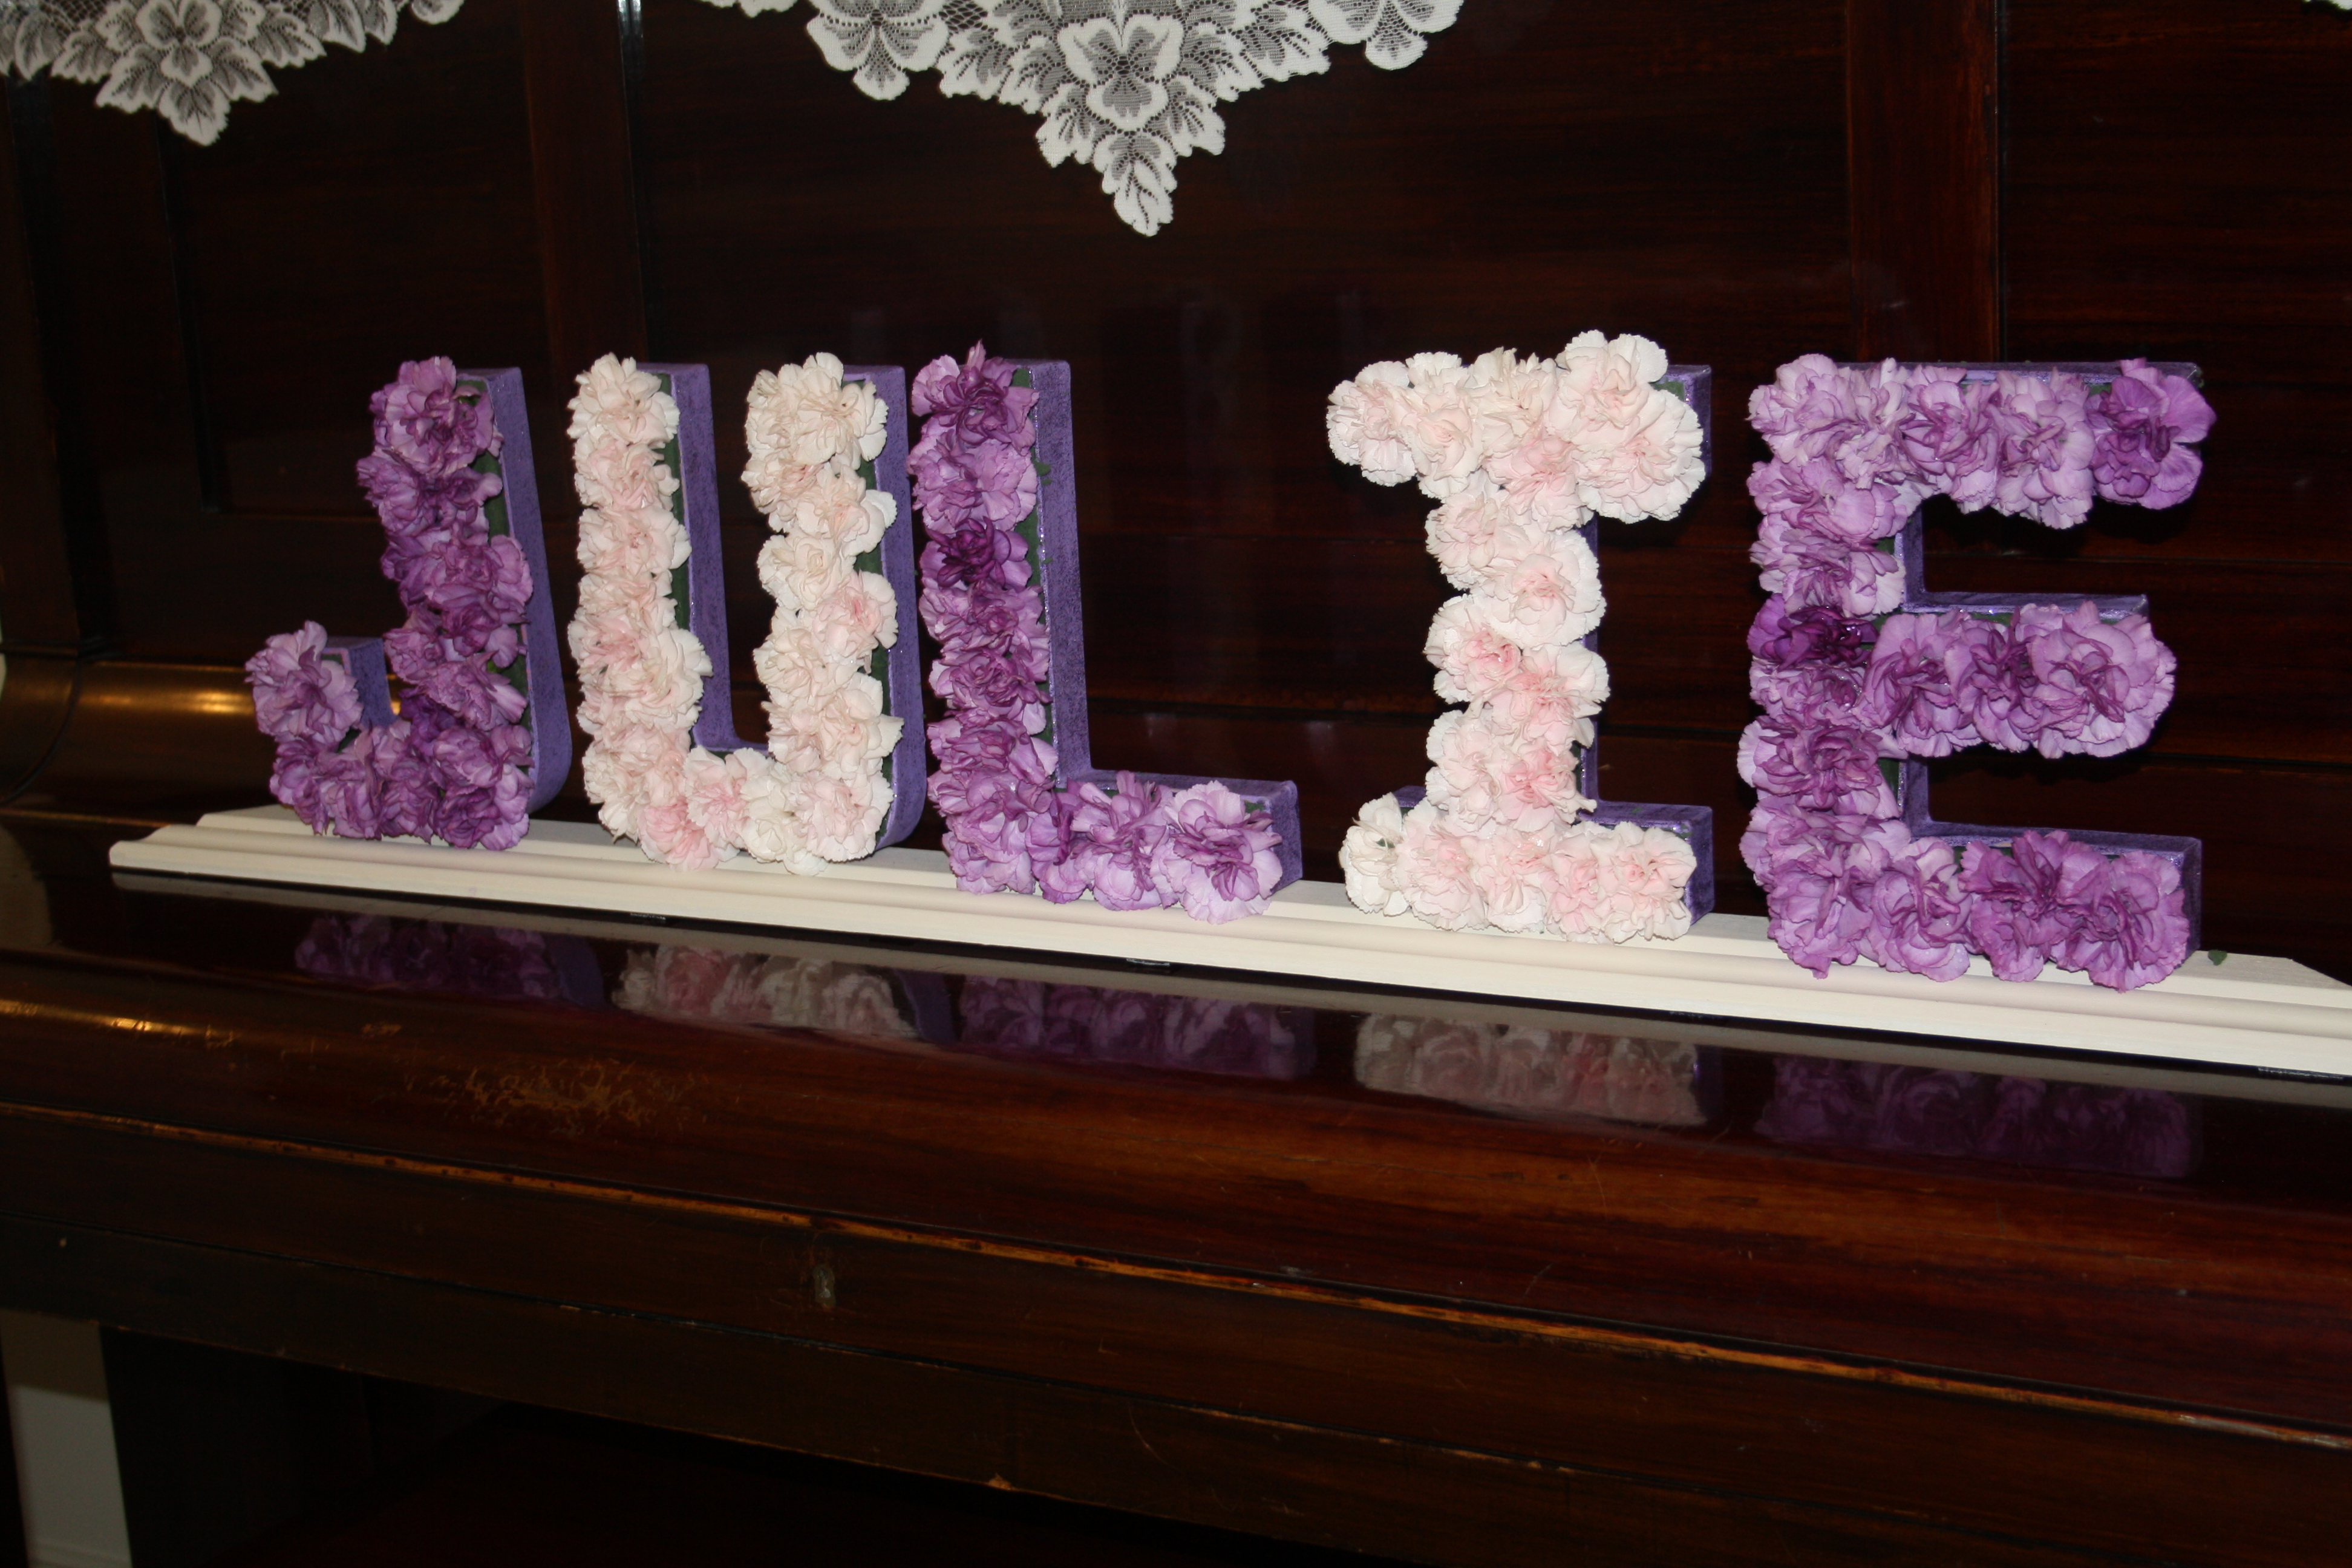
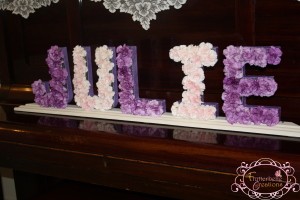
Another floral touch was the paper Mache letters which had their faces cut off to create a hollow letter. This hollow was filled with florist foam so mini carnations could fill the letters. Before filling with florist foam though, each letter was given a coating of waterproofing spray and the exterior of each letter painted. Some glitter paint in the same colour as the base colour gave them a bit of a glam feel! You can never have too much sparkle! Dad had cut a piece of skirting to act as a base for the letters to stand up on using double sided tape and it made transporting Julie’s floral name much easier. If you are going to do something like this, having a little water spray bottle on hand to spritz the flowers before your event helps to keep the blooms fresh.
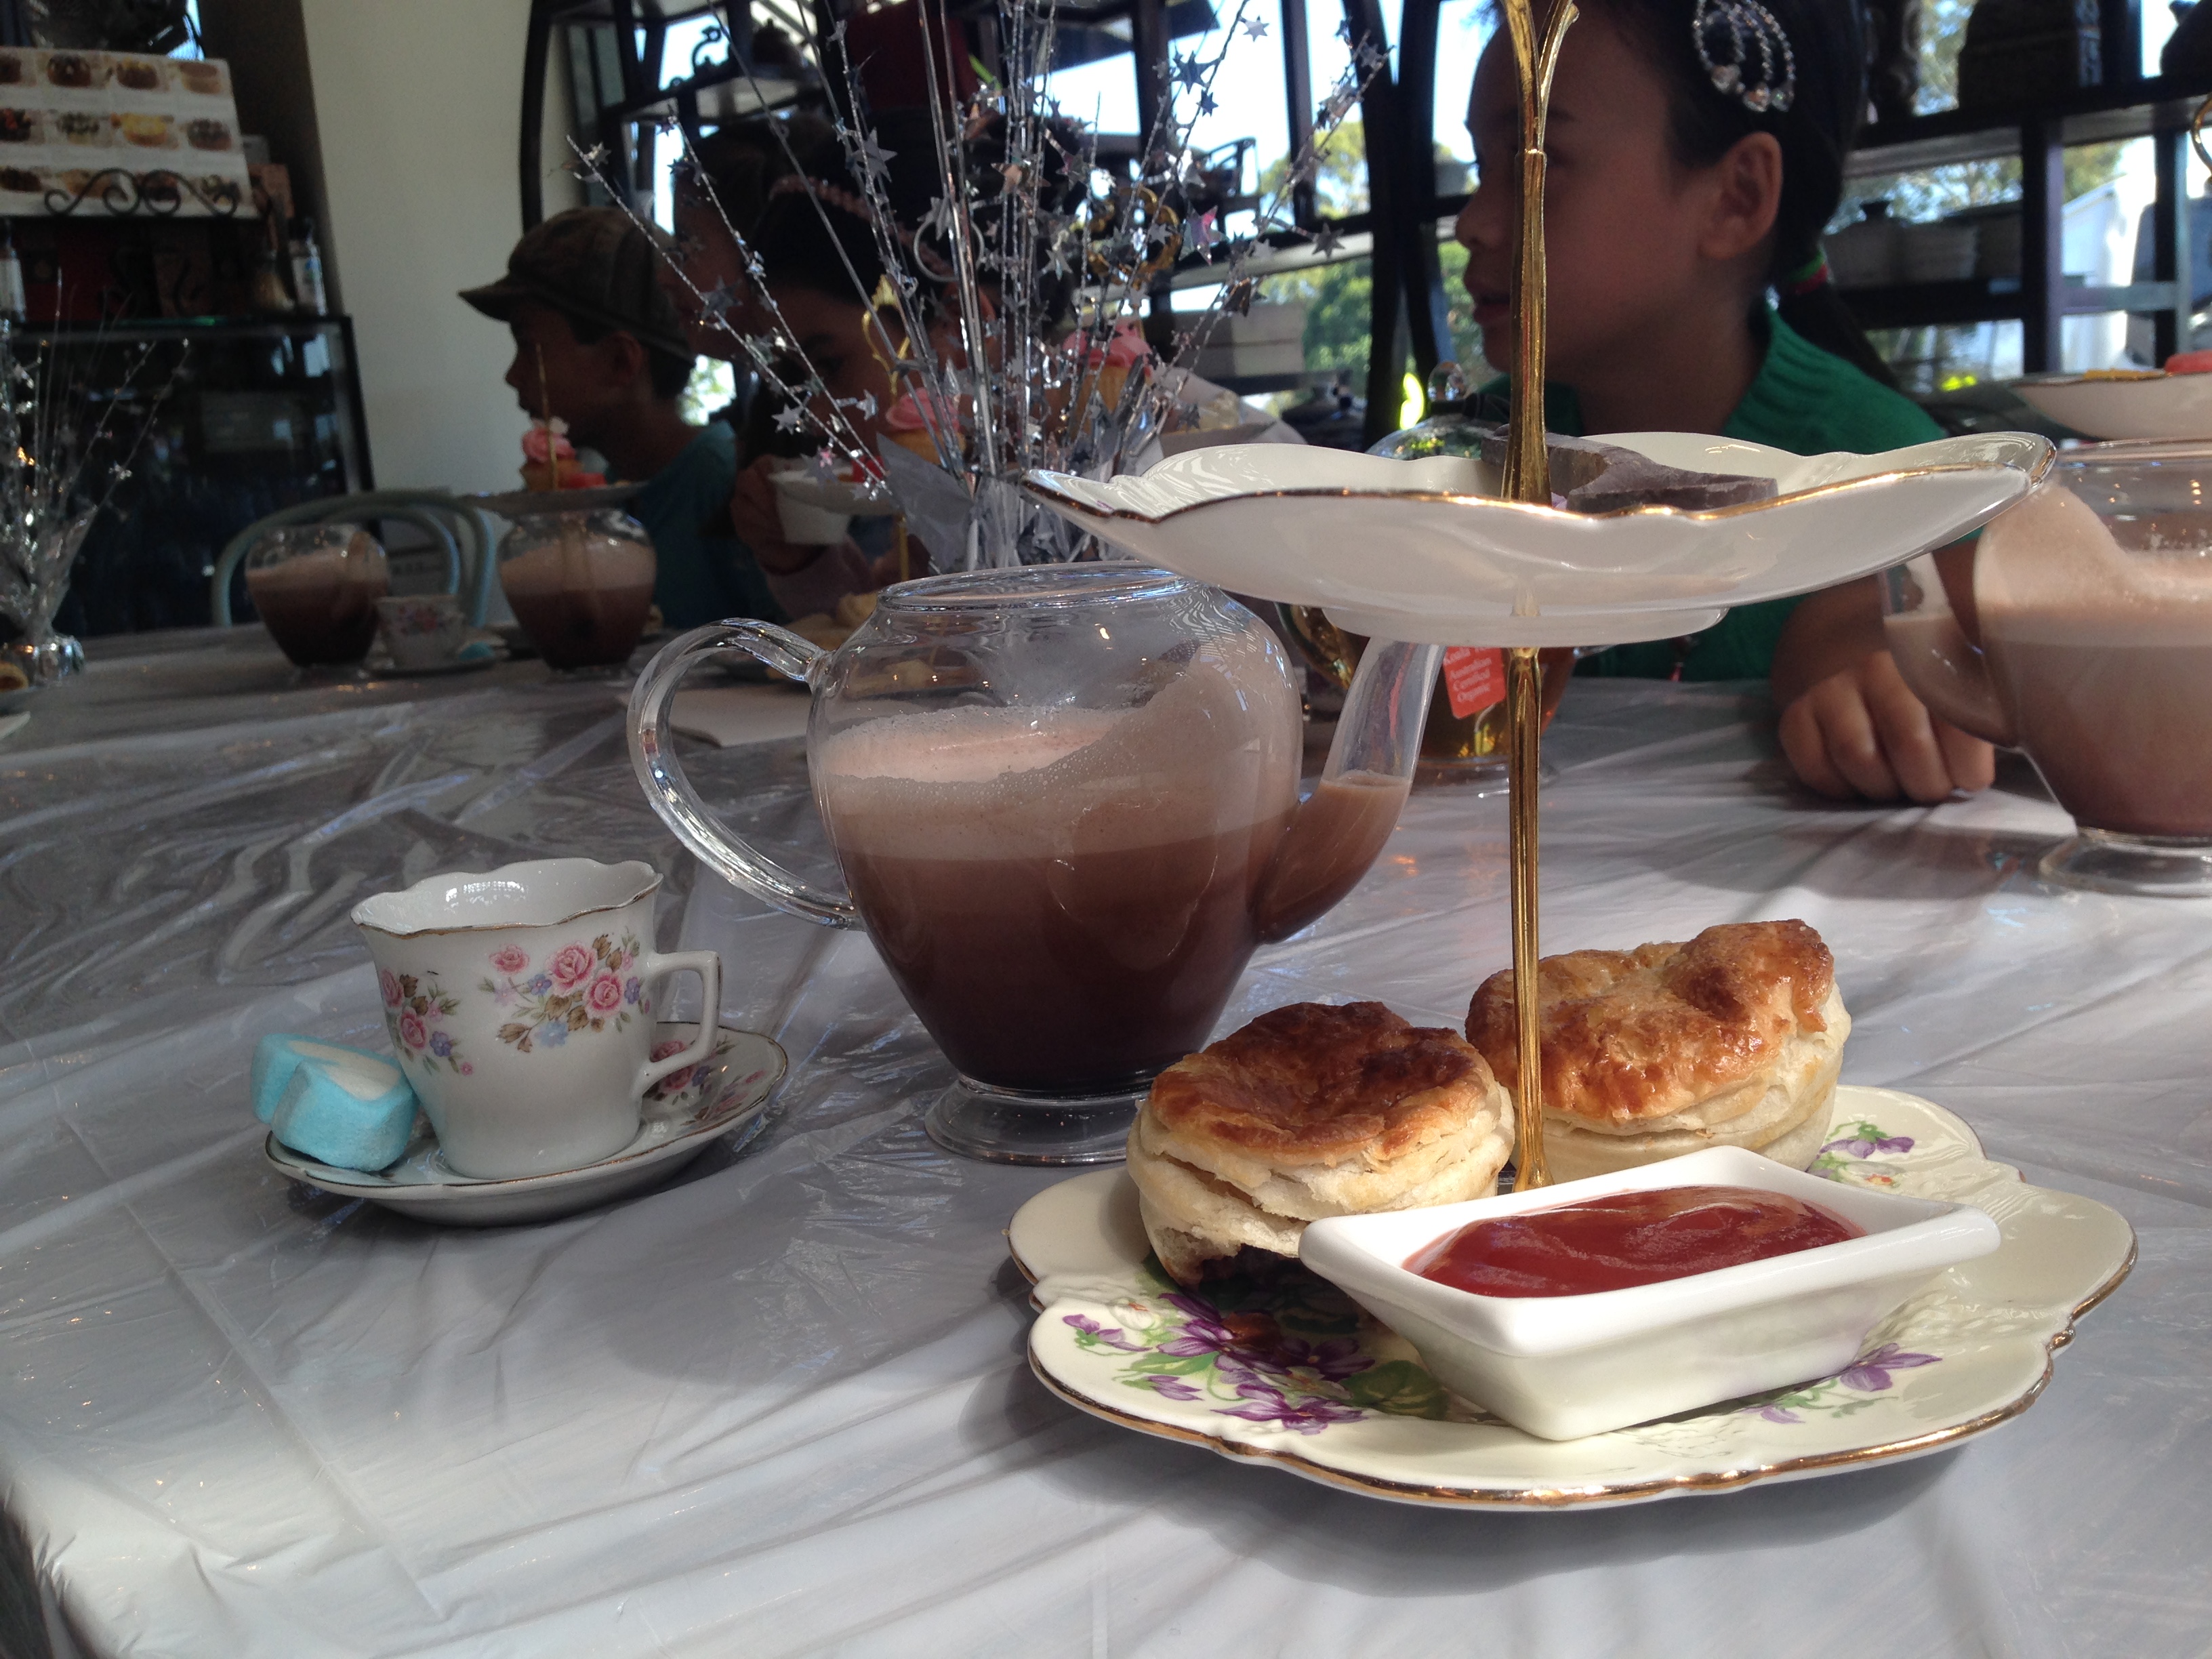
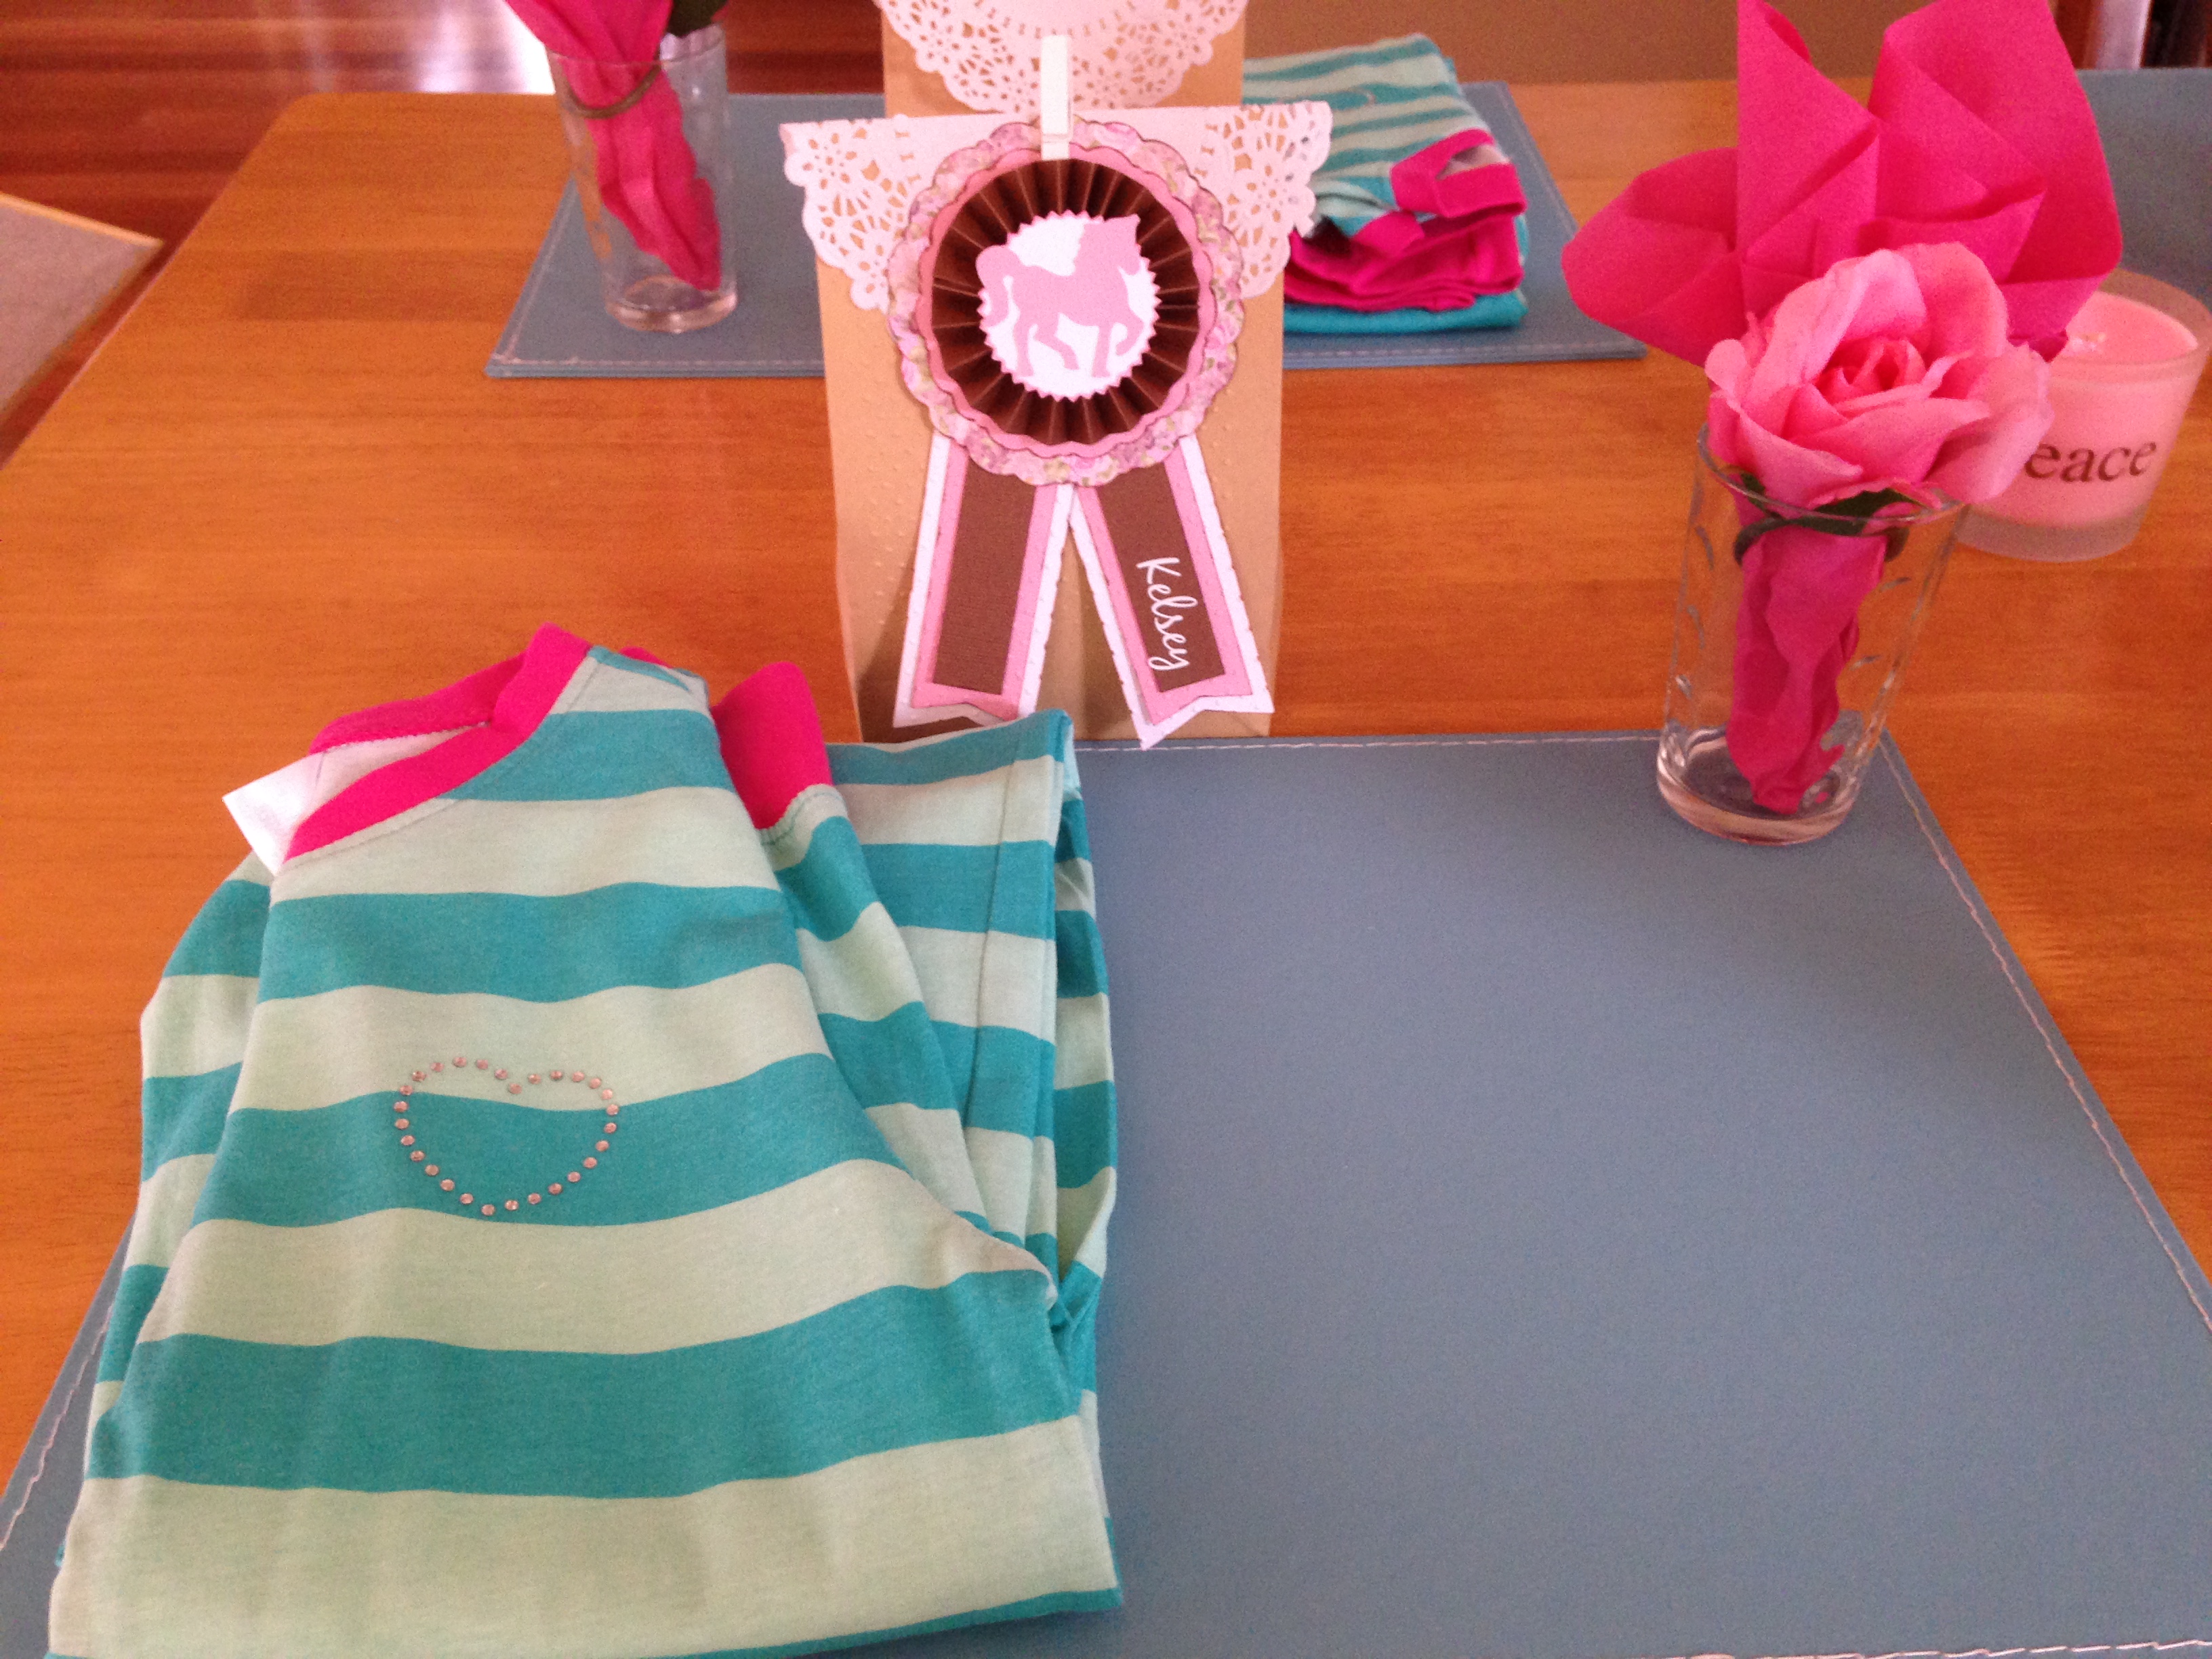
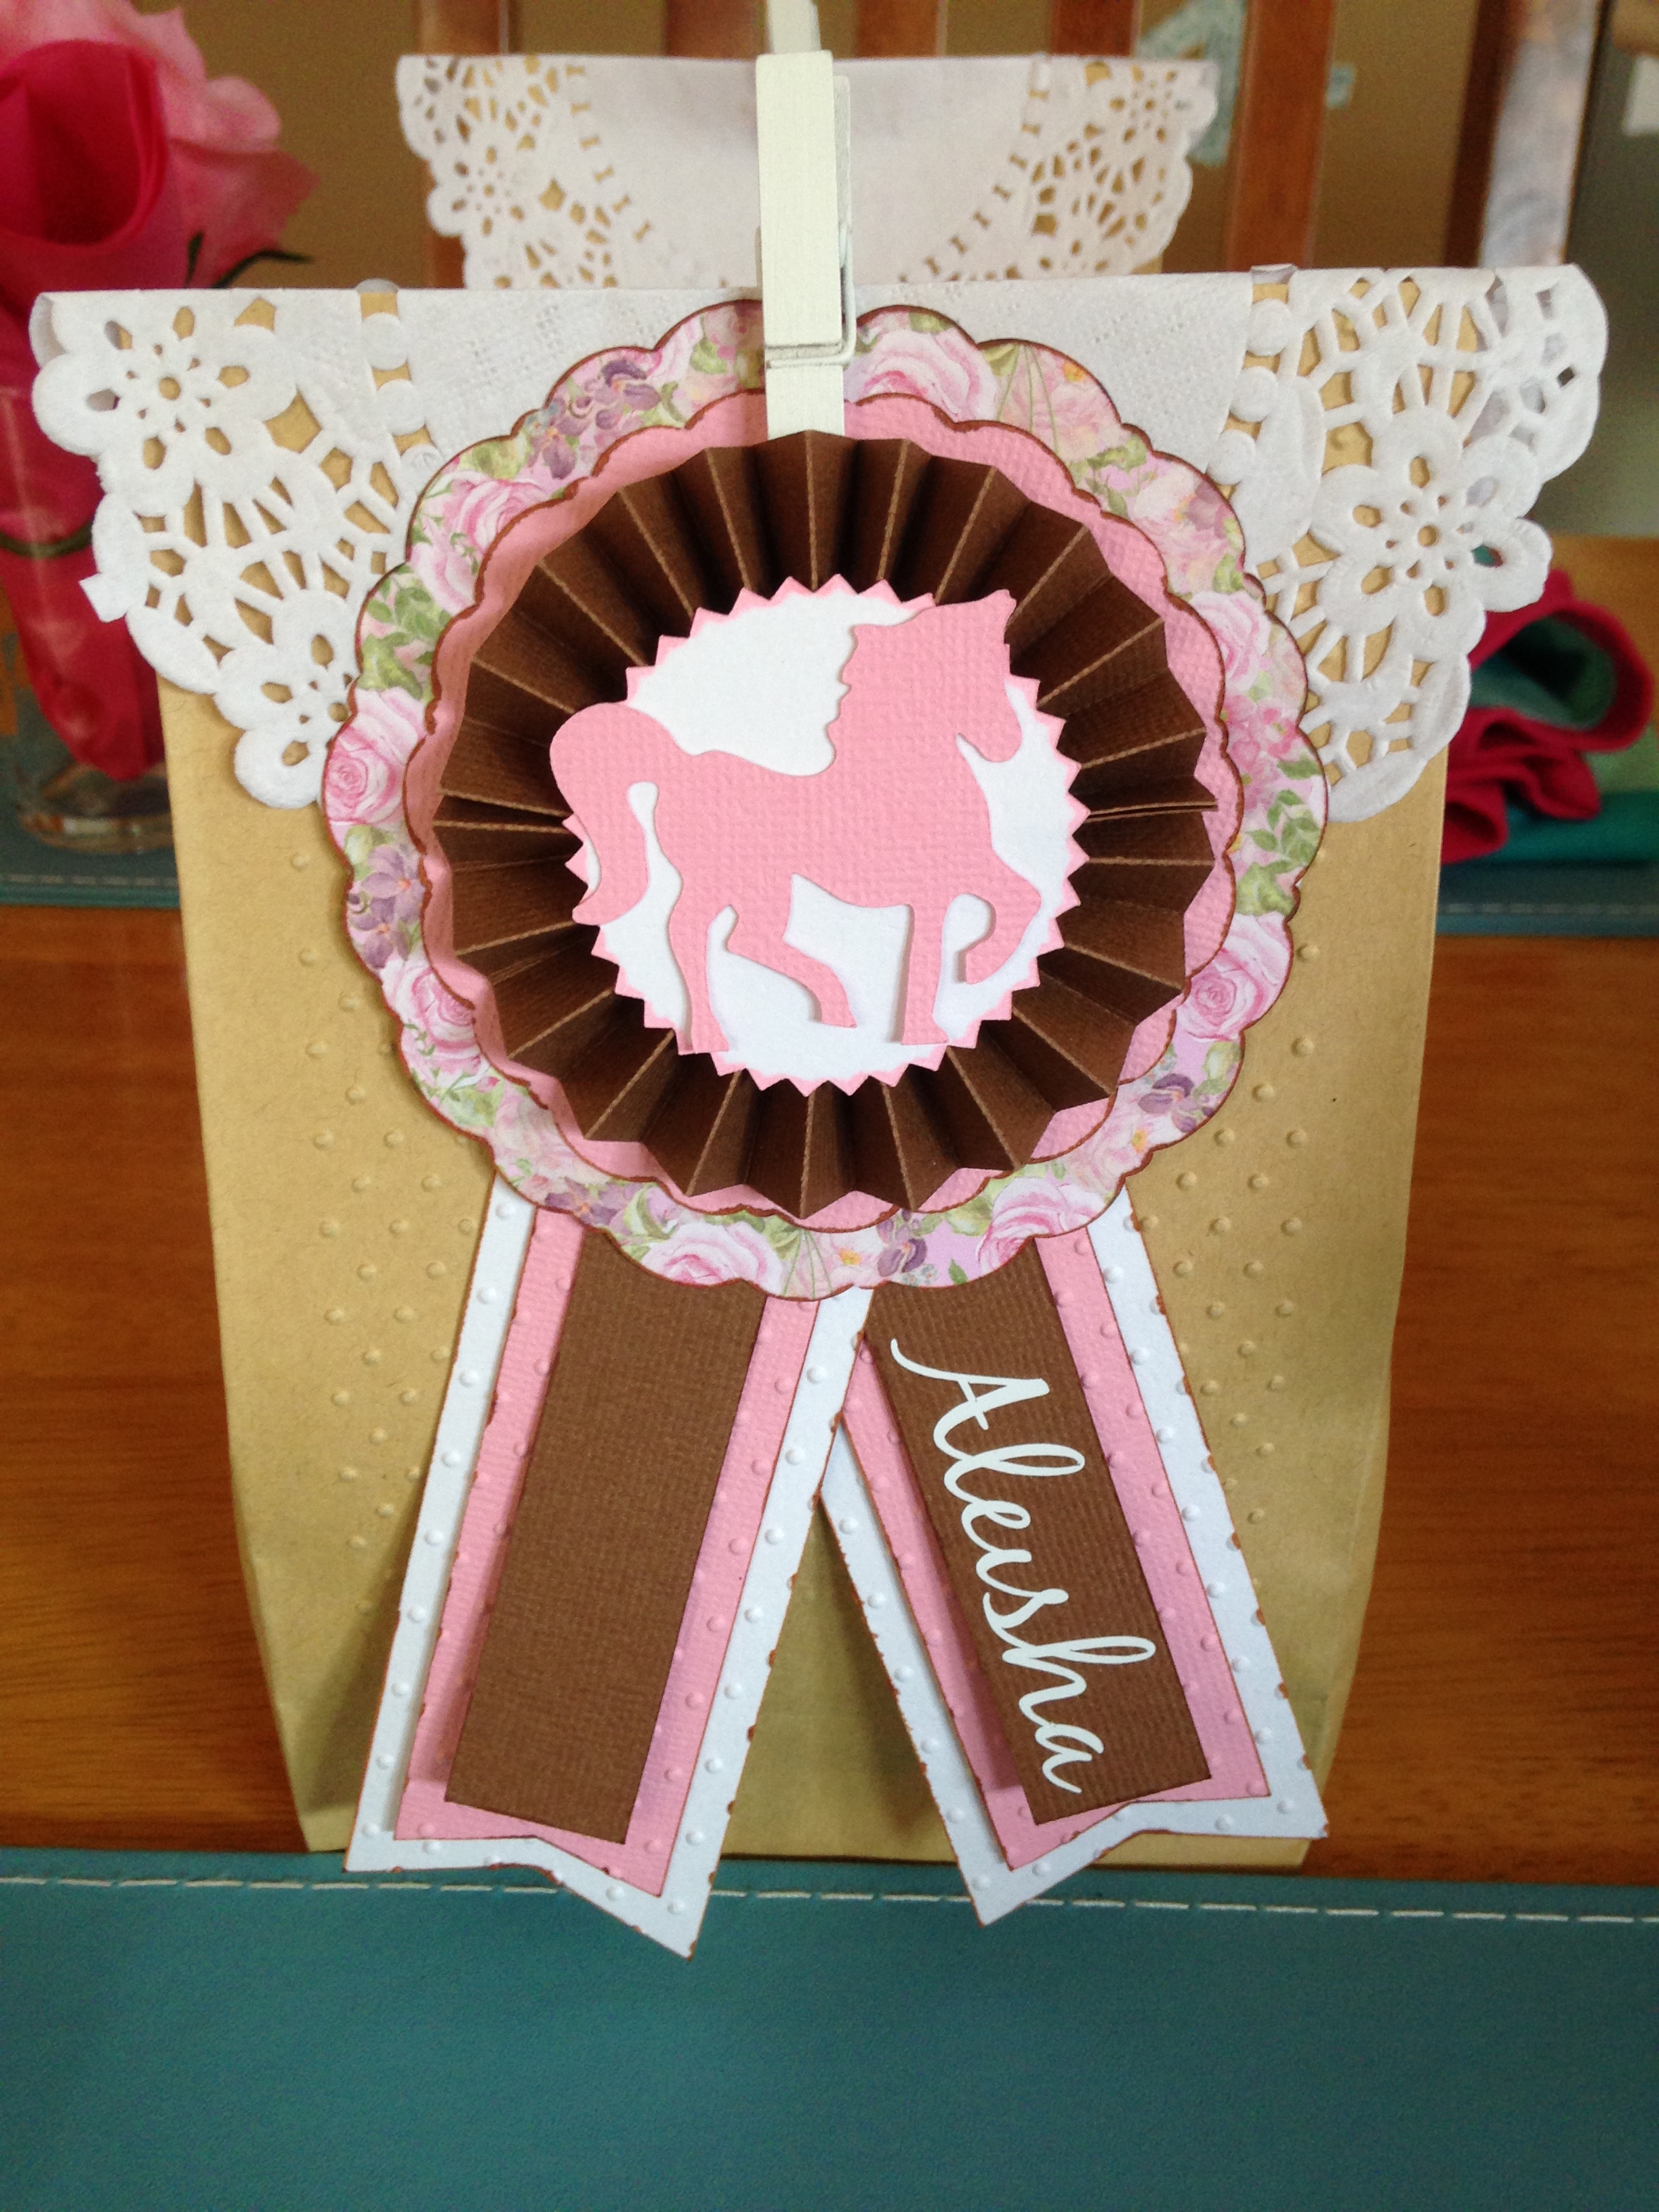
I love setting the table for a gathering and making it look beautiful. I get a kick out of doing this and it comes naturally to me I guess. Between the two of us, mum and I have some lovely teacups, plates and platters. We often share our collections for occasions such as this. Once the essential items were set on the table including lovely pale green linen serviettes, one thing was left – place-cards.
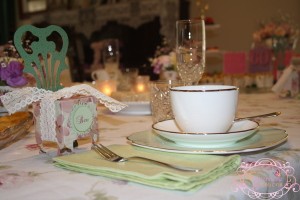
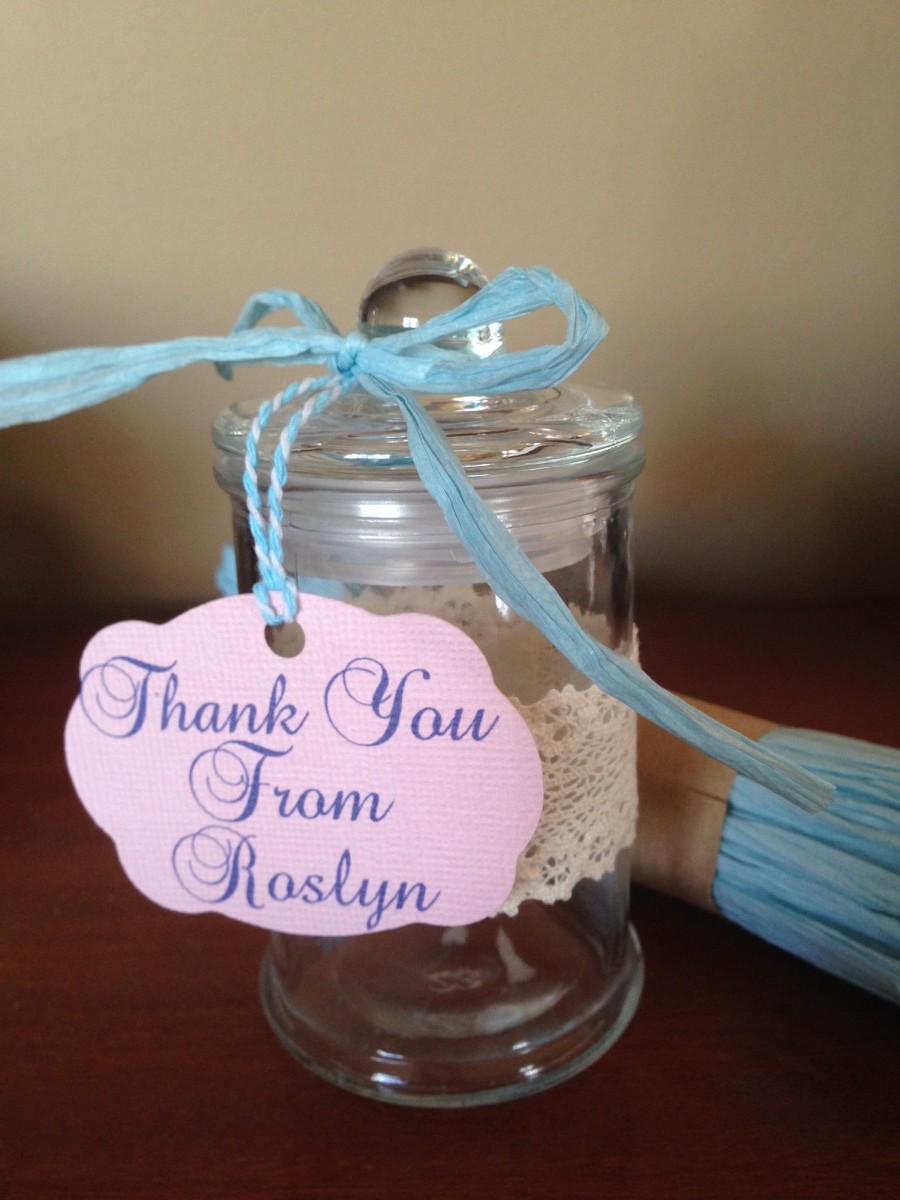
I love the fancy chair box file in the craft room, it makes a perfect place card setting which doubles as a favour box. I used Kaisercraft’s Enchanted Garden double sided paper for these. I also used a file from the craft room and the print and cut feature to print each attendees name on the small disc atop the doilie file.
Inside each chair box was a perfect mini yo-yo (melting moment) Once filled with this delightful biscuit, I tied a piece of lace ribbon around the box and popped each one on the table for each guest. These were very well received and admired.
There’s more to come about the food we served on the day! In the meantime, look out for some new projects from the Pazzles Blog and have a look here at the Frozen party I created for my son last year if you’ve enjoyed reading about how we decorated for this event.